Vevox sessions allow you to create live polls/quizes, q&as, and asynchronous polls and quizzes to share with your students.
To create a new session in Vevox:
- Contact us at edtech@mtu.ie and we will add your email address to Vevox. Once you accept the invite, you can log onto Vevox.
- On the Vevox homepage, click CREATE SESSION.
- Enter a session name and click CREATE. The session will now appear on your dashboard with a unique ID.
- Add the content for your session (polls, Q&A, surveys, or a combination). See Creating a live poll/quiz using Vevox, Creating an asynchronous survey or quiz using Vevox, or Using the Q&A feature in Vevox for more information.
- When you are ready to present the session to students, hover over the name and ID of your session and click START SESSION.
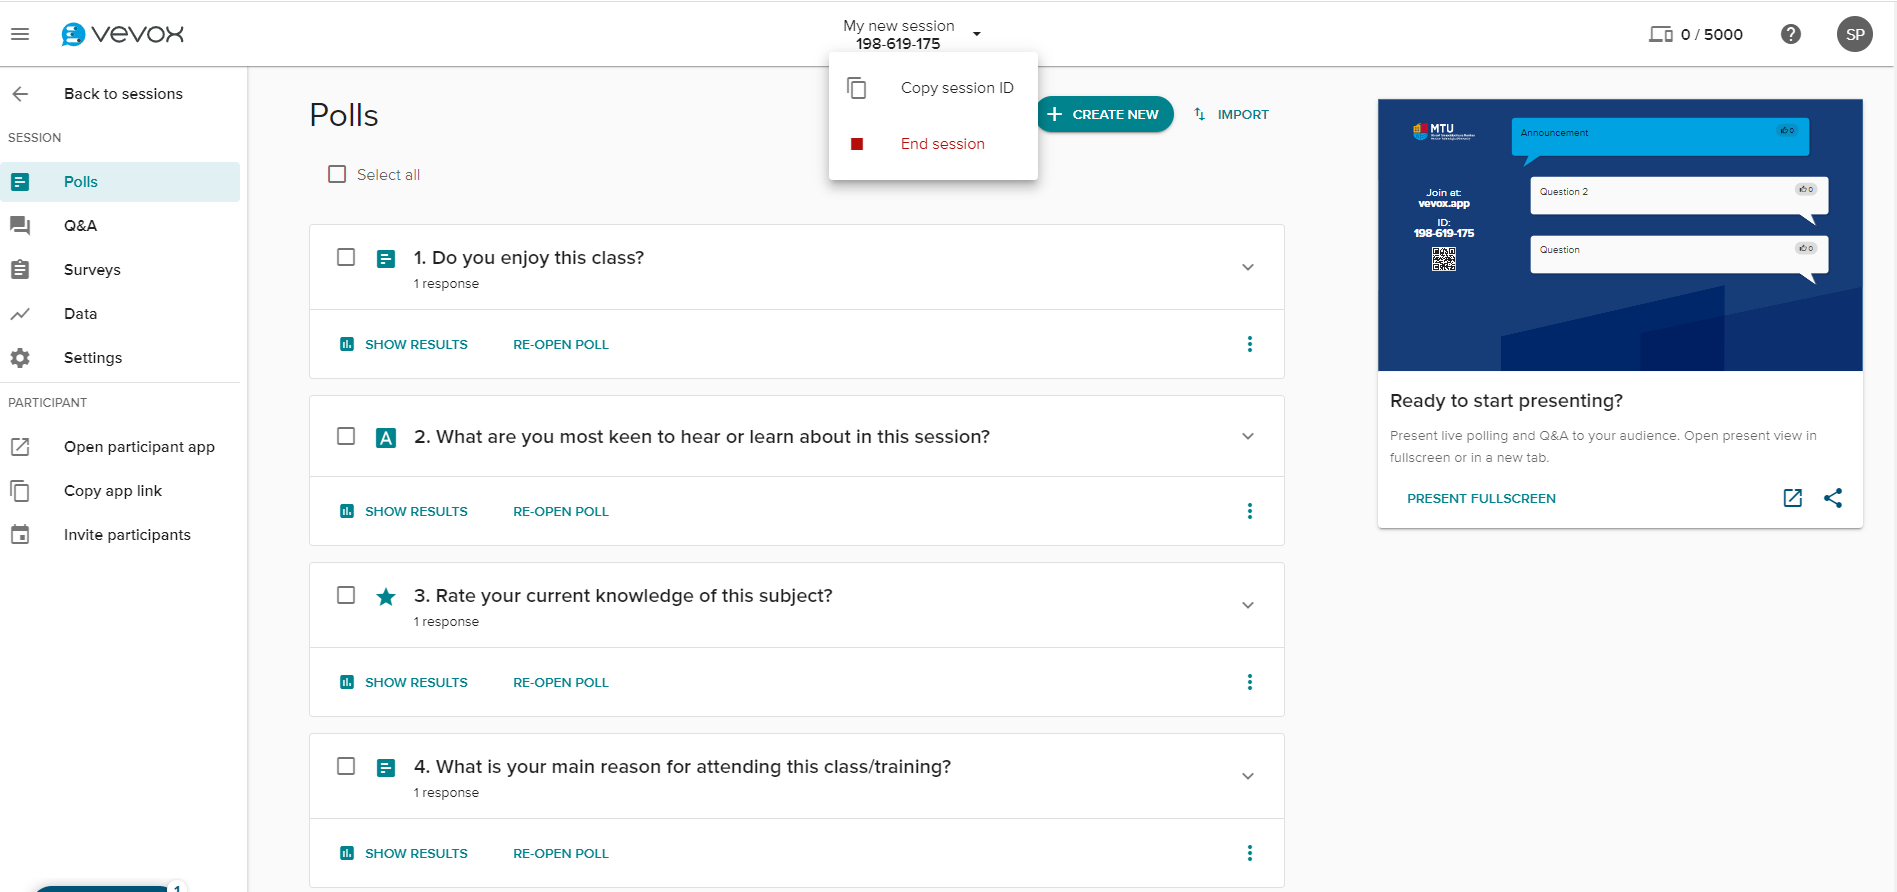
- To share the session with your students, tell them to visit https://vevox.app and give them the session ID to enter (found at the top of your dashboard) or click Copy app link and share that link with your students. You can also paste this link into your browser to see what the student view looks like.
- Optional: To add a passcode to the session click Invite participants and enter a passcode. Click SET PASSCODE. Click Copy to copy the invite and passcode that you can send to students.
- Configure presenter options from the Settings tab. See Vevox session settings for more information on settings.
- To present the session, click PRESENT FULLSCREEN or click the
 icon to present from a new tab.
 - To end the session, hover over the name and ID of your session and click End session.