Vevox allows you to set default settings for all sessions you make, and also edit settings in each individual session.
Default settings
On the Vevox homepage, click Settings, then click Admin settings.

SESSION DEFAULTS
| Q&A
settings | |
| Q&A message board | On or off. The Q&A
message board. |
| Moderation | On or off. Moderation for
questions. |
| Poll settings | |
| Profanity filter | On or off. Automatically filters out some unsavoury words. |
| Voting results | From the dropdown list you can select if voting results are display as a percentage, a number, or as both. |
| Identification | Allow users to input a name/alias |
| Session info | Update the default welcome instructions |
| Present View Settings | |
| Show join instructions | On or off. Display join instructions for the session in the present view. |
| Show QR code | On or off. Display a QR code for joining the session in the present view. |
| Show response count | On or off. Display the response count for the session in the present view. |
BRANDING
From the BRANDING tab you can change the default logo and colours.
Settings for individual sessions
Within a session, click the Settings tab to
access the settings for your session.
There are 5 tabs you can click on
under settings: SETUP, FEATURES, IDENTIFICATION, THEME,
and SHARING.
See below for more information on
each tab.
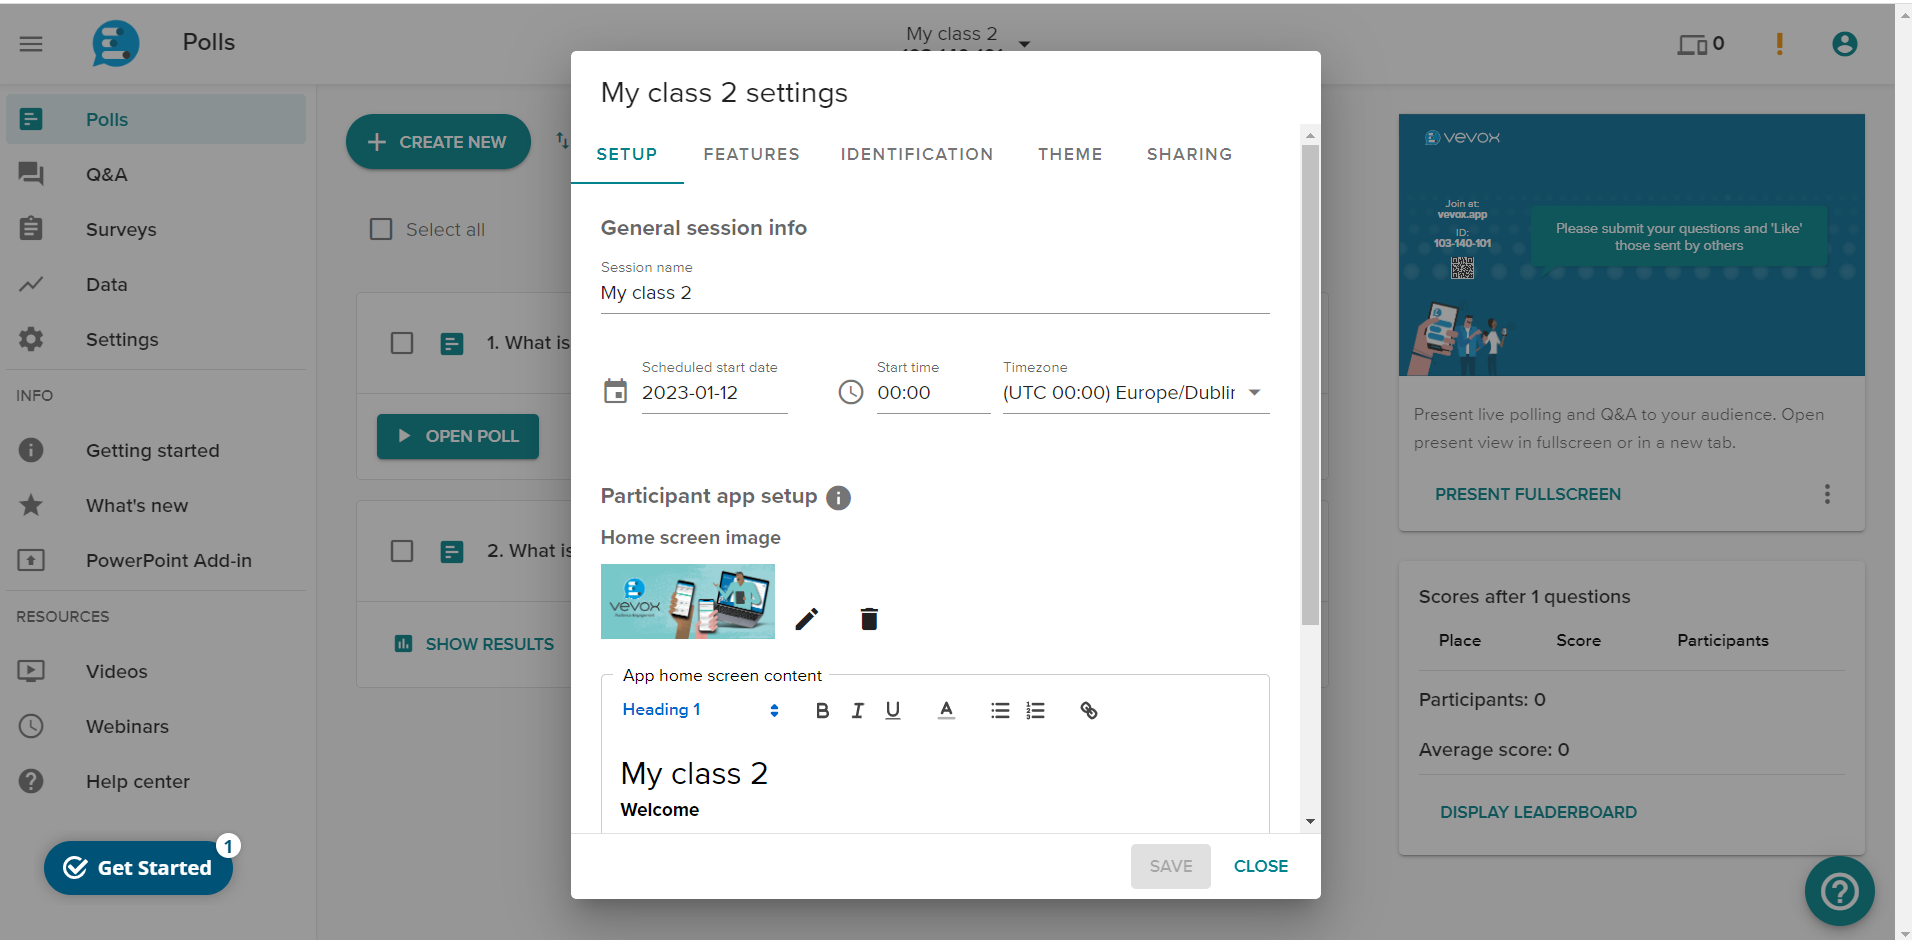
SETUP
From the SETUP tab, you can
configure the session name, start time, and
edit information that will display on the
welcome screen for participants.
To change the home screen image for
participants, click the pencil icon, select a
new image, and click SAVE.
To edit the text that displays to
participants when they join the session, use
the text editor.
FEATURES
See the following table for
information on all the feature settings. Some
settings will be on or off by
default.
| Settings | Description |
| Q&A
settings | |
| Q&A message board | On, paused, or off. The Q&A
message board. |
| Moderation | On or off. Moderation for
questions. |
| Poll
settings | |
| Profanity filter | On or off. Automatically filters
out some unsavoury words. |
| Display real-time
results | On or off. Shows poll results as
soon as the poll opens and
dynamically updates the results
when votes are
received. |
| Display result on poll
close | On or off. Automatically shows
poll results when the poll closes,
rather than requiring an extra
action to display the
result. |
| Voting results | From the dropdown list you can
select if voting results are
display as a percentage, a number,
or as both. |
| Automatic countdown
timer | On or off. Automatically begins
the countdown timer with the
default time when polls are
started. |
| Present view
settings | |
| Show join instructions | On or off. Display join
instructions for the session in
the present view. |
| Show QR code | On or off. Display a QR code for
joining the session in the present
view. |
| Show response count | On or off. Display the response
count for the session in the
present view. |
IDENTIFICATION
From the IDENTIFICATION tab,
you can choose whether you want participants
to be Anonymous or Identified.
If you select Identified, you
can choose whether participants show names,
hide names, or have their own choice. If you
select Hide names, the identity of
participants will still be visible in the
session data report.
Under Additional security,
you can toggle the Passcode protection option and add a passcode if required.
Note: If you created the
session in a Canvas module, these settings
must be updated in Canvas.
THEME
From the THEME tab you can
change the logo and themes of the
session.
To change the session logo, click
the pencil icon, select a new image, and click SAVE.
You can change the theme of the
session by selecting from a list of pre-made
themes or creating a custom theme.
To create a custom them, select Custom under Themes and
customisation. Select a main color,
highlight color, and background image for your
theme. Select Dark or Light for
the color of the instruction text that appears
in presenter view.
SHARING
From the SHARING tab you can
add co-hosts to your session. Click the
dropdown list and select a co-host. These
users have complete access to the session and
its content.
Once you are happy with your session
settings, click SAVE.