Dialog Cards
The Dialog cards content type enables you to create a set of cards with corresponding words or expressions on either side of the cards.
Dialog cards can be used as a drill to help learners memorize words, expressions or sentences. Dialog cards provide a prompt on one side of the card, and a corresponding answer on the other side.
Dialog cards are often used in language learning for drilling words and expressions. Dialog cards can also be used to present math problems or help learners remembering facts such as historical events, formulas or names.
Accessing H5P in Canvas

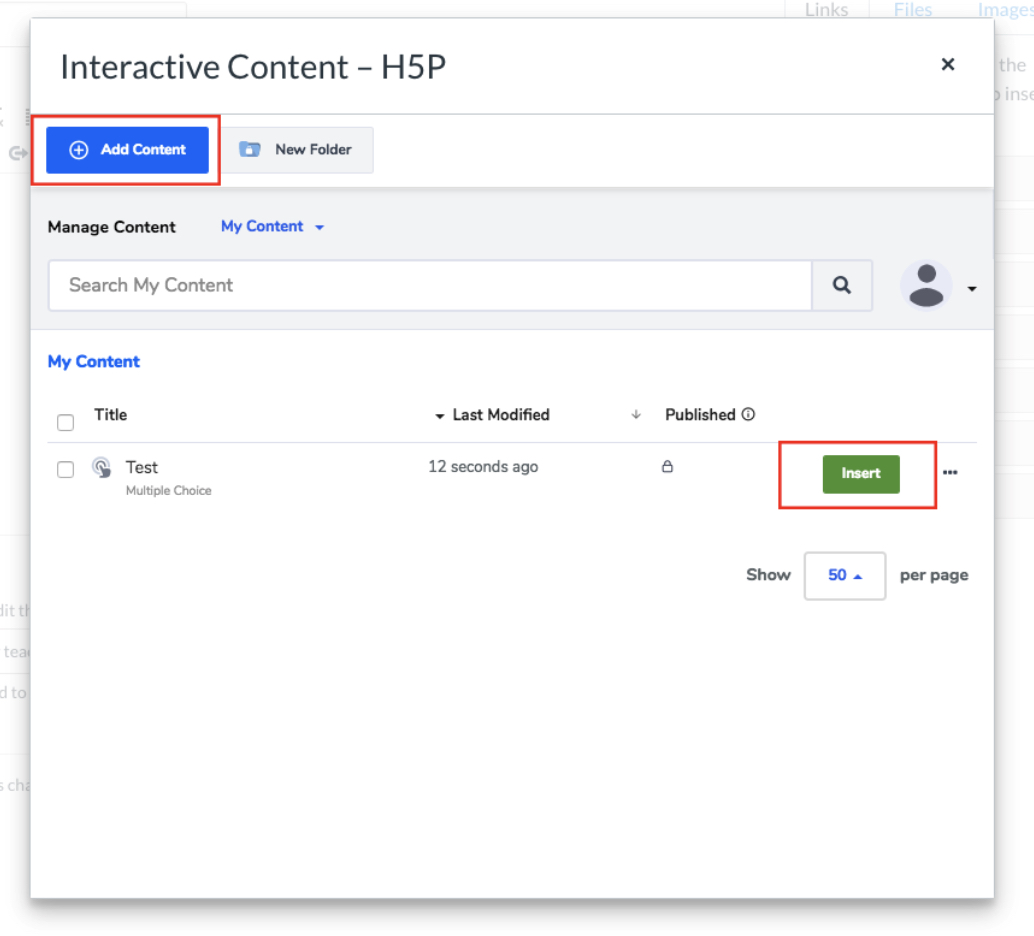
Clicking on that menu item will open a pop-up showing your H5P library. From here, you will have the option to either insert previously created content or create something new.
Creating Dialog cards
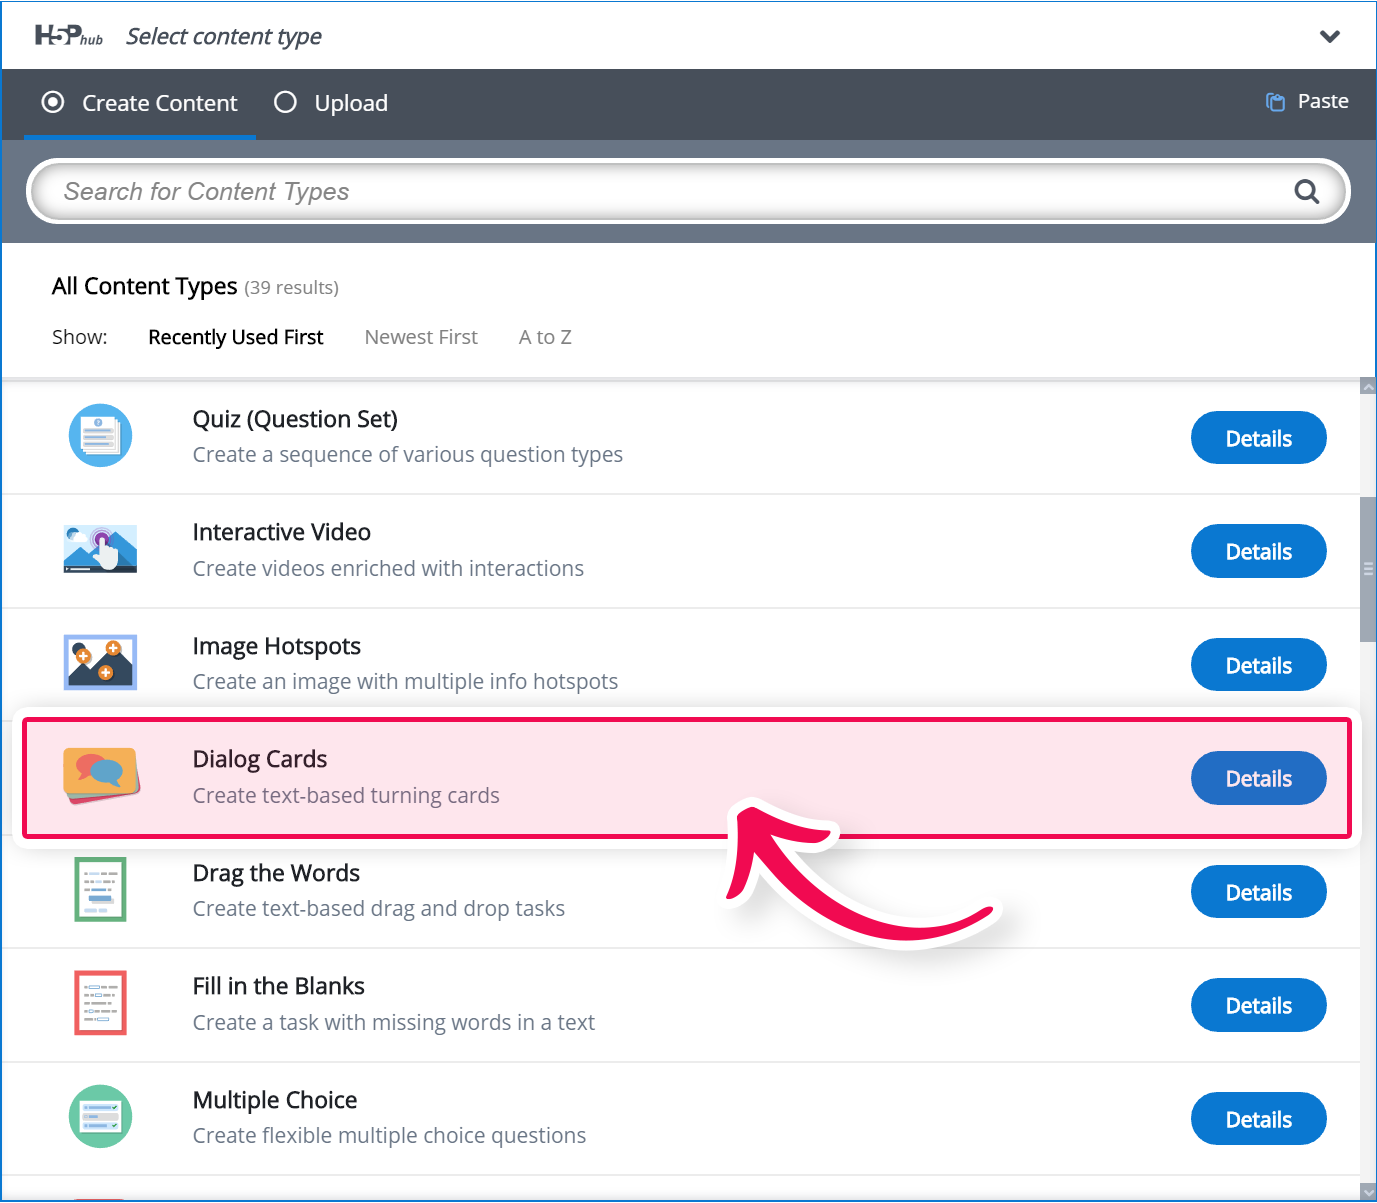
Select the New content option and choose Dialog Cards from the list of Content types:
Dialog cards editor
The Dialog cards editor should now appear. The top part of the editor looks like this:
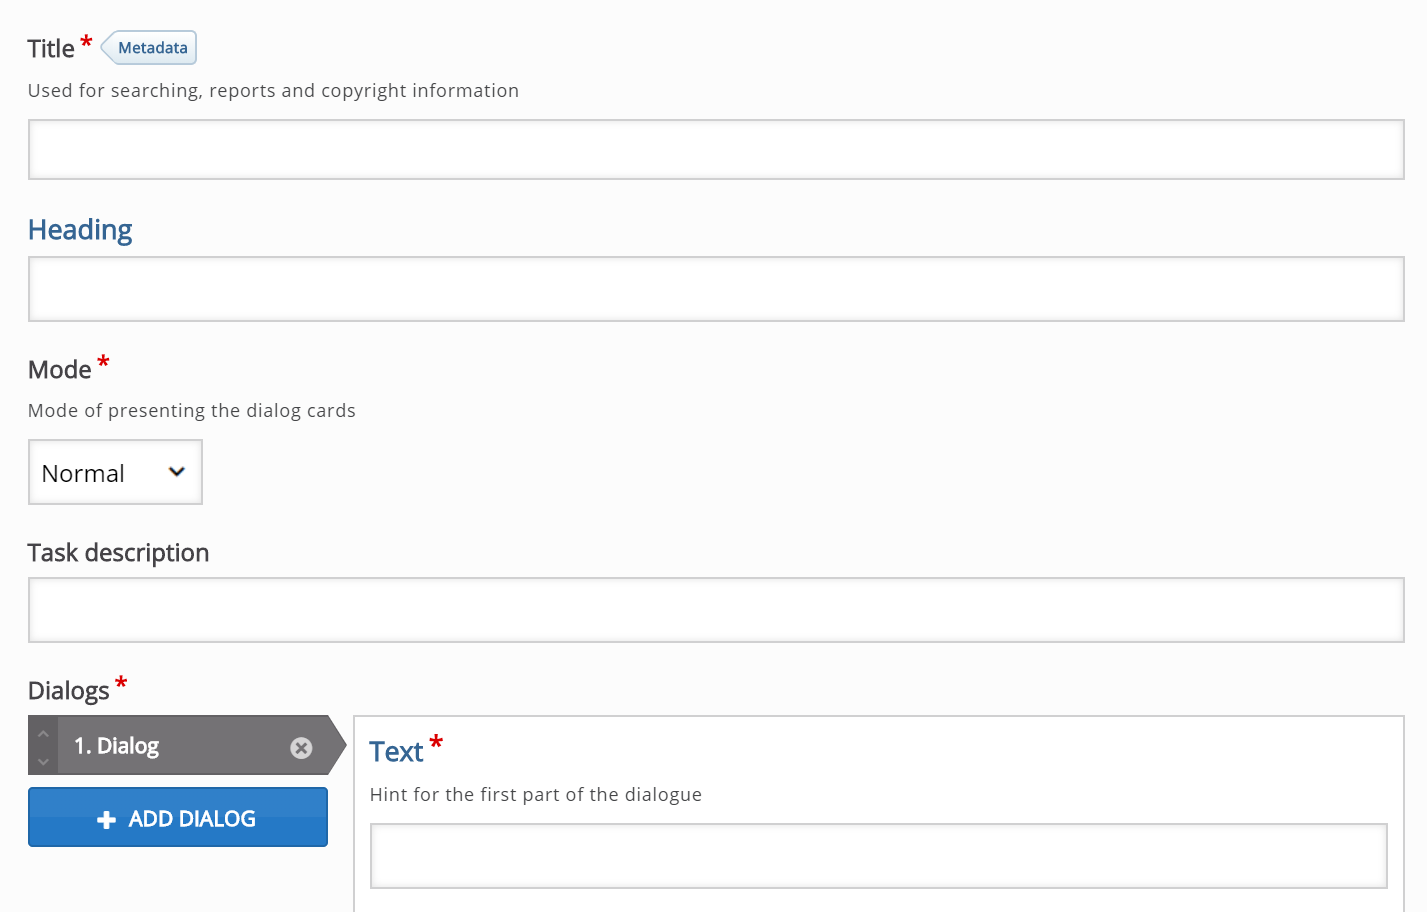
The Dialog cards editor consists of a Title, a Heading, a Mode, a Task description and a set of Dialogs.
Title
The Title will be displayed to the learner throughout the set of cards. Type the title text in the Title field.

Task description
In this field you can give elaborate instructions to the learner. The Task description is displayed throughout the entire set of cards, below the Title. Insert the description text.
Dialogs
Press the Add dialog button to add the card.

You should now have something like this:
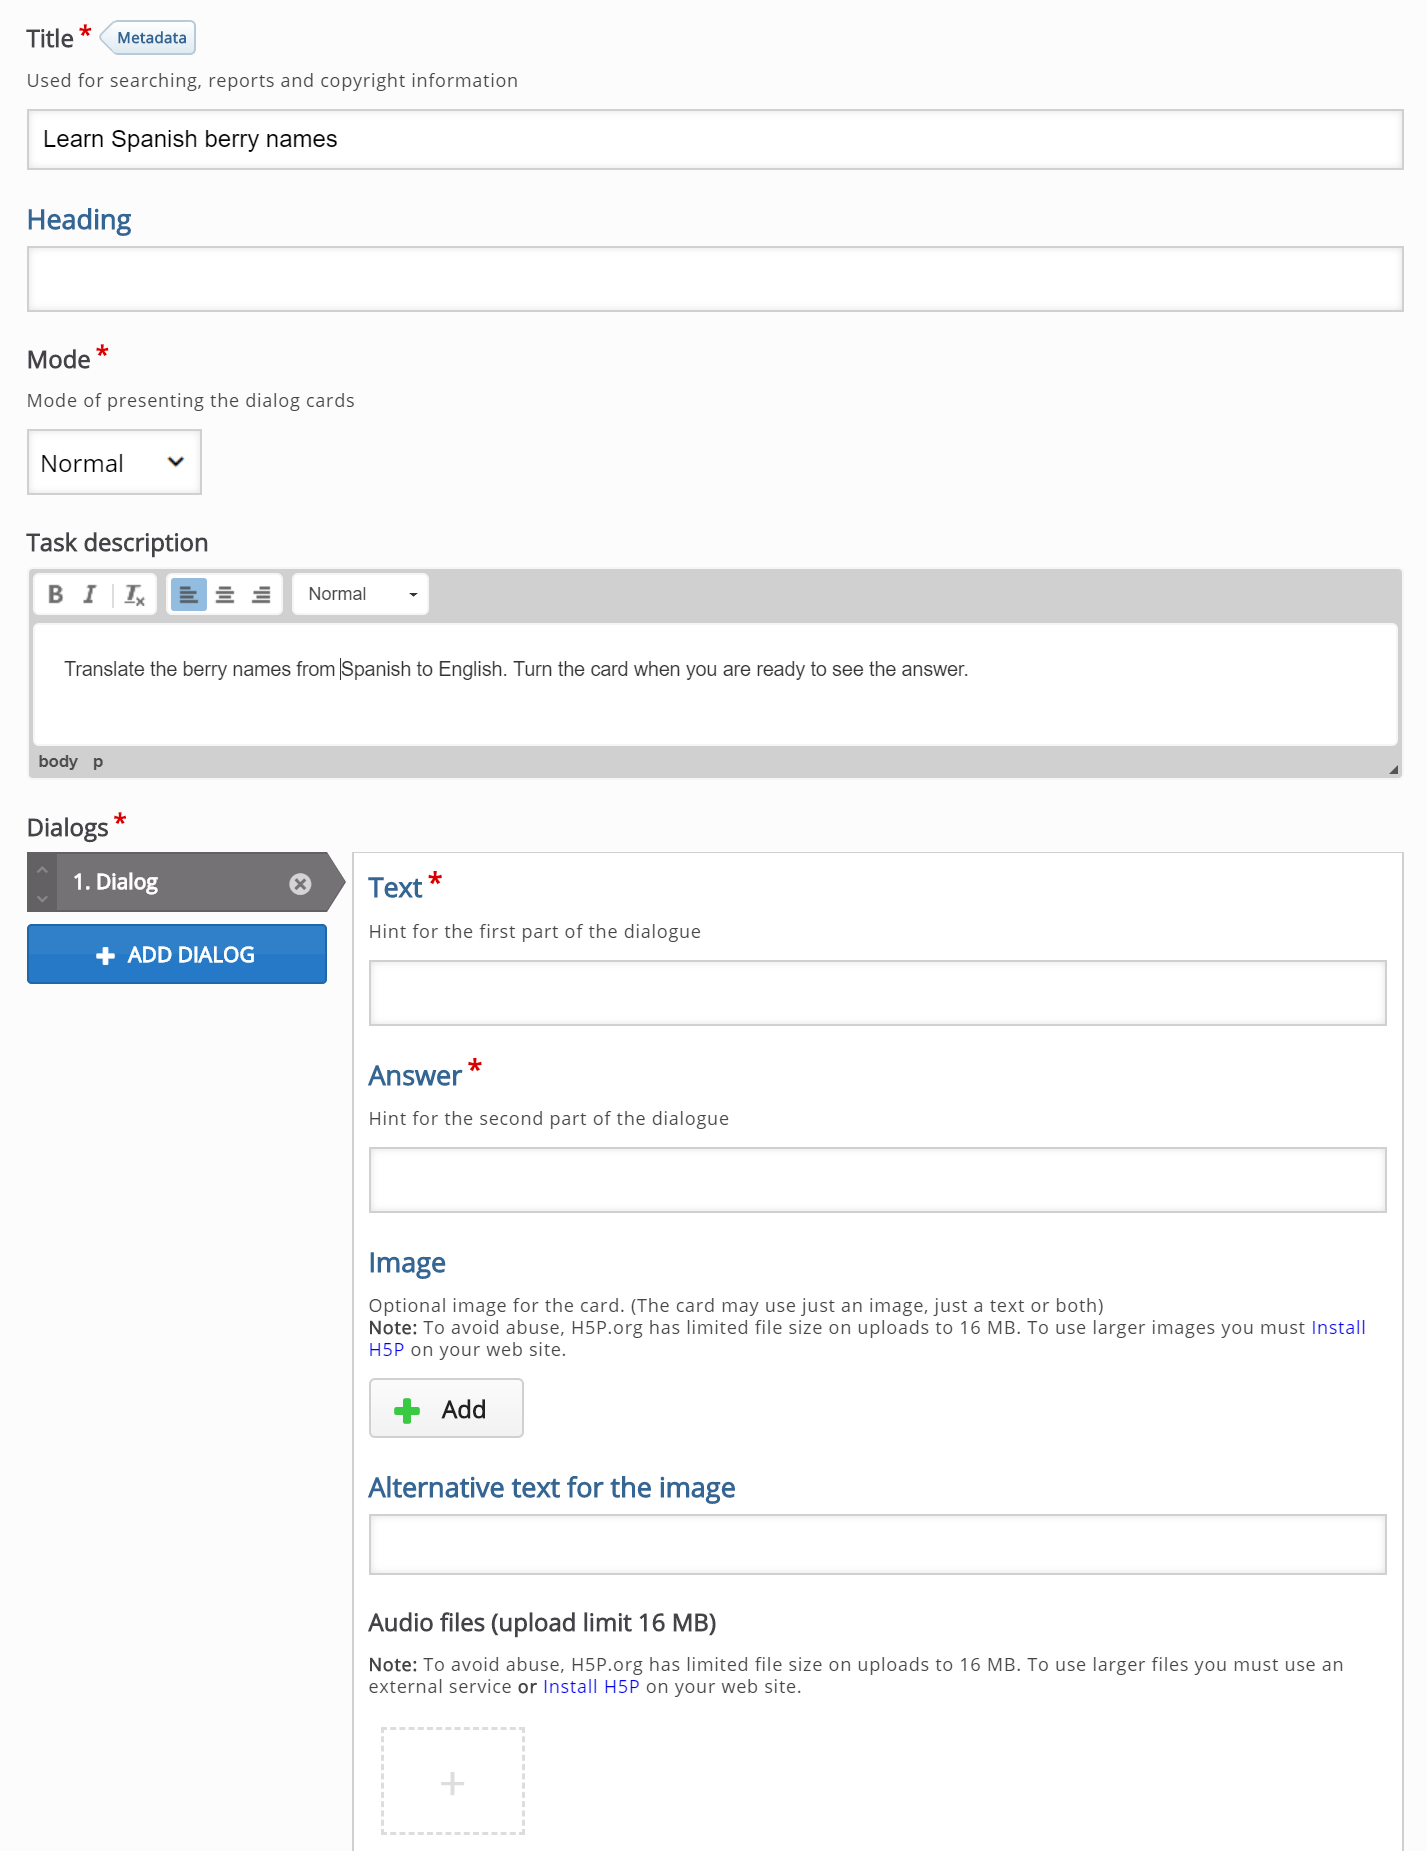
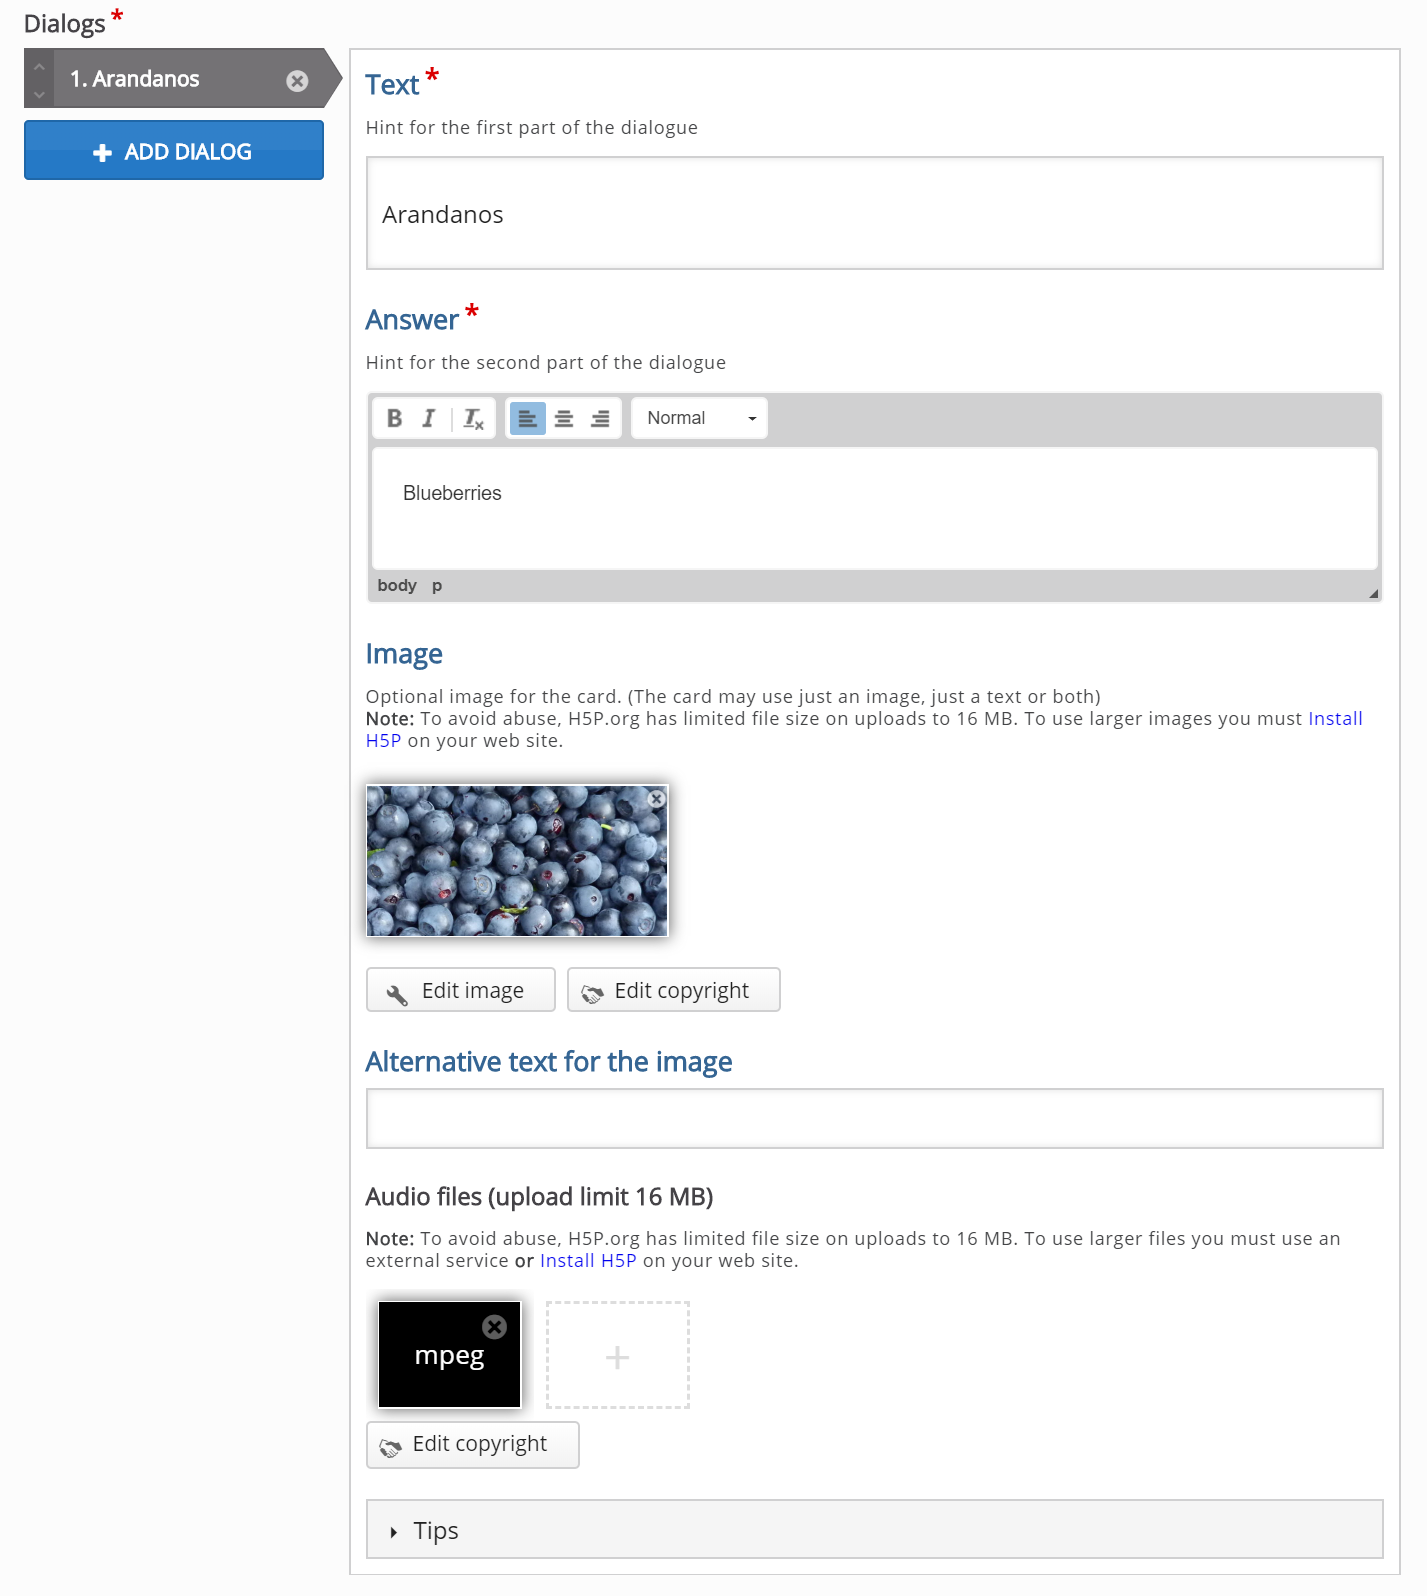
On this first card insert the first text in the Text field.
In the Answer field, provide the correct answer.
Insert an image under Image field and an audio file under Audio files. Image and Audio files are optional.

Your editor will look like this:
Adding more cards
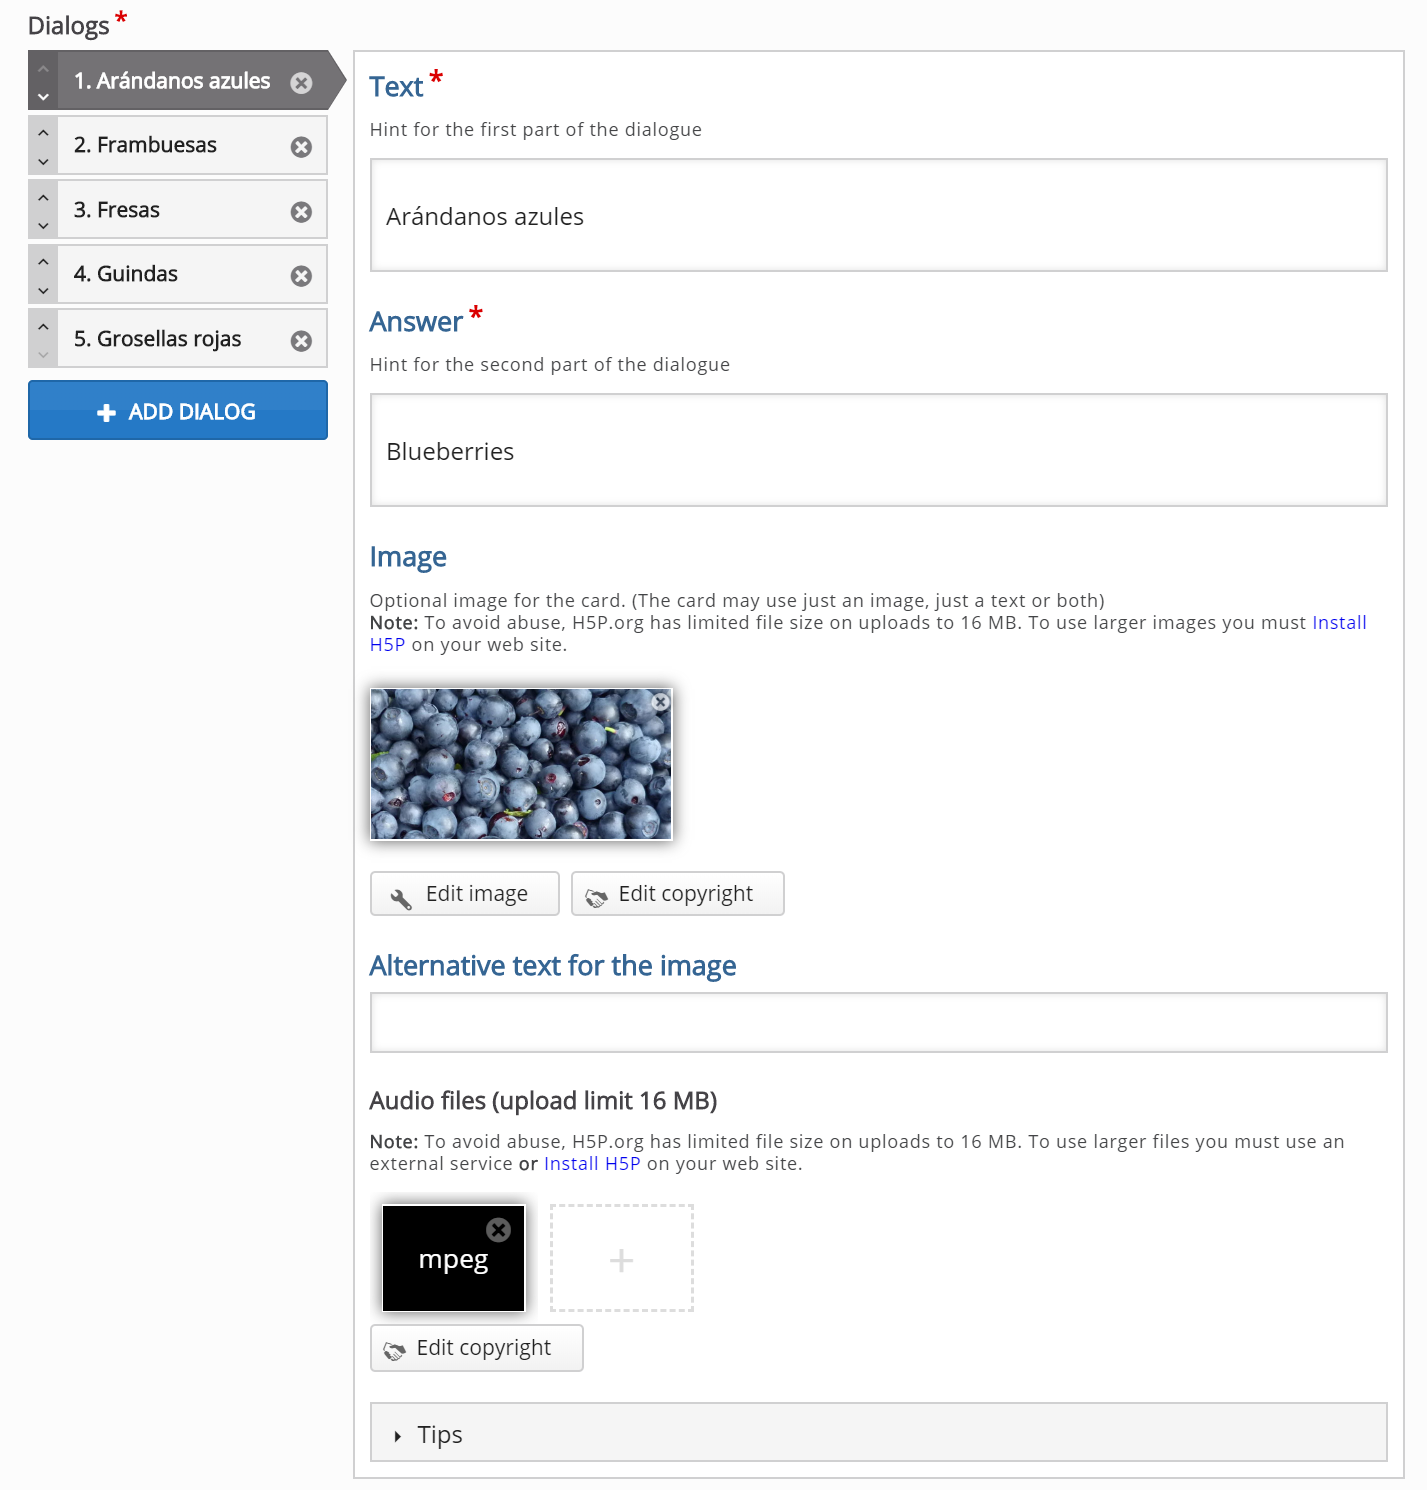
We can add four more cards by following the same procedure as in Step 6.
You can add as many cards as you want. You remove cards by pressing the
button in the top right corner of the Card. You change the order of the cards by pulling the
button in the tabbed list of cards to the left of the Card editor.
Finishing up
By now you should have ended up with something like this:
Save and Insert when you're satisfied to view your final set of Dialog cards.