Go to https://telcit.zoom.us/
Click on the option to sign in and sign in using your CIT email address and password (what you typically use to access your CIT email). This will set you up with a licensed Zoom account.
Then download the Zoom client from https://telcit.zoom.us/download.
The Zoom client automatically downloads when you start your first session but it is quicker to get started if you download this in advance.
Access the module in Canvas where you want to setup a Zoom meeting - the option for Zoom will be available in the left-hand navigation menu.
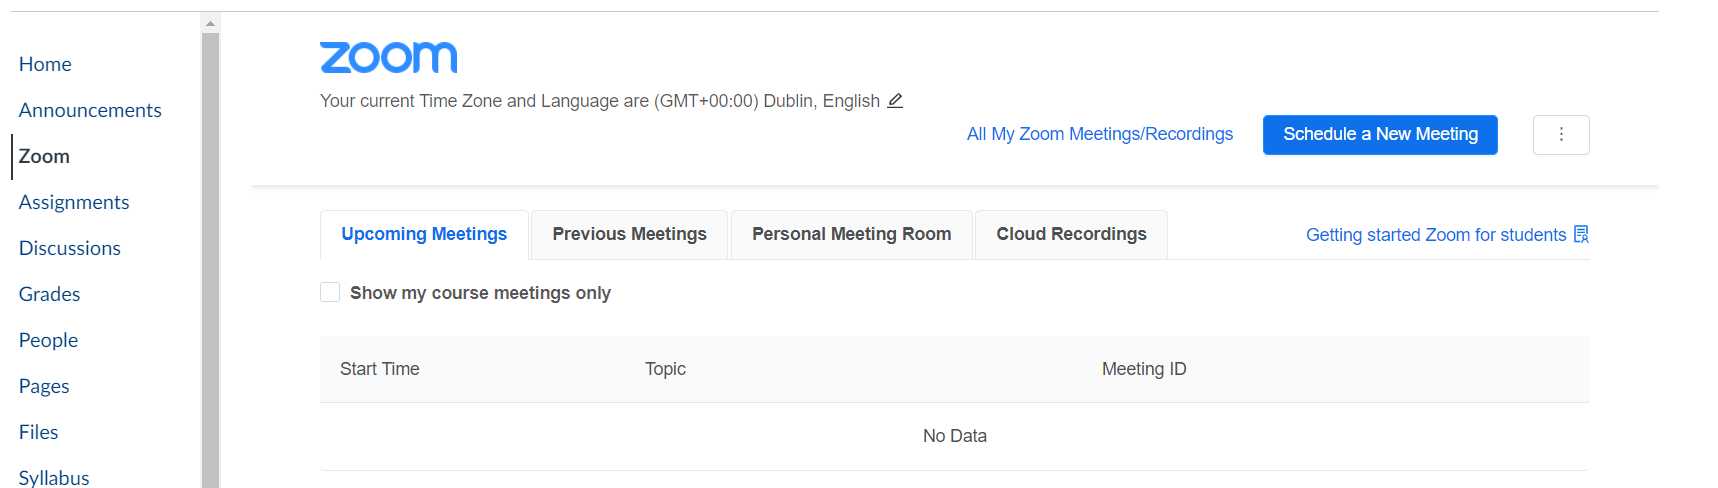
Schedule a class by clicking Schedule new meeting in the Zoom area.
You only need to enter details for when the session will take place, but if you want to, you can look to schedule a recurring meeting for the coming semester.
An important first step is to make sure that students can hear you and that you can hear them. You can set this up your microphone and speaker via the Mic icon in the lower-left corner. You can then click this icon to mute or unmute yourself.

When in Zoom, first open your Powerpoint or the software you want to show students and then select the option to share your screen with them using the Share Screen at the bottom of Zoom.

There is also an option at the base of
the pop-up area to Share Computer Sound.
If you are planning to play audio to
students - for instance by playing a video
or audio file on your computer- you should
tick this. When this is ticked, whatever
audio you hear on your machine will be
audible to students.

As students seek access to the room, you can allow them entry by clicking Participants in the Zoom menu bar and selecting Admit or Admit All.
For more information, see our Getting Started with Zoom video.