Summary
When to use summaries
Summaries work best when they are presented to the learner immediately after the learning content.
Examples are:
- at the end of an article or a chapter of text
- at the end of a video
- at the last slide of a presentation
Summaries help the learner remember key information in a text, video or presentation, by actively building a summary about the topic at hand. When the learner has completed a summary, a complete list of key statements about the topic is the end result.
Accessing H5P in Canvas

Clicking on that menu item will open a pop-up showing your H5P library. From here, you will have the option to either insert previously created content or create something new.
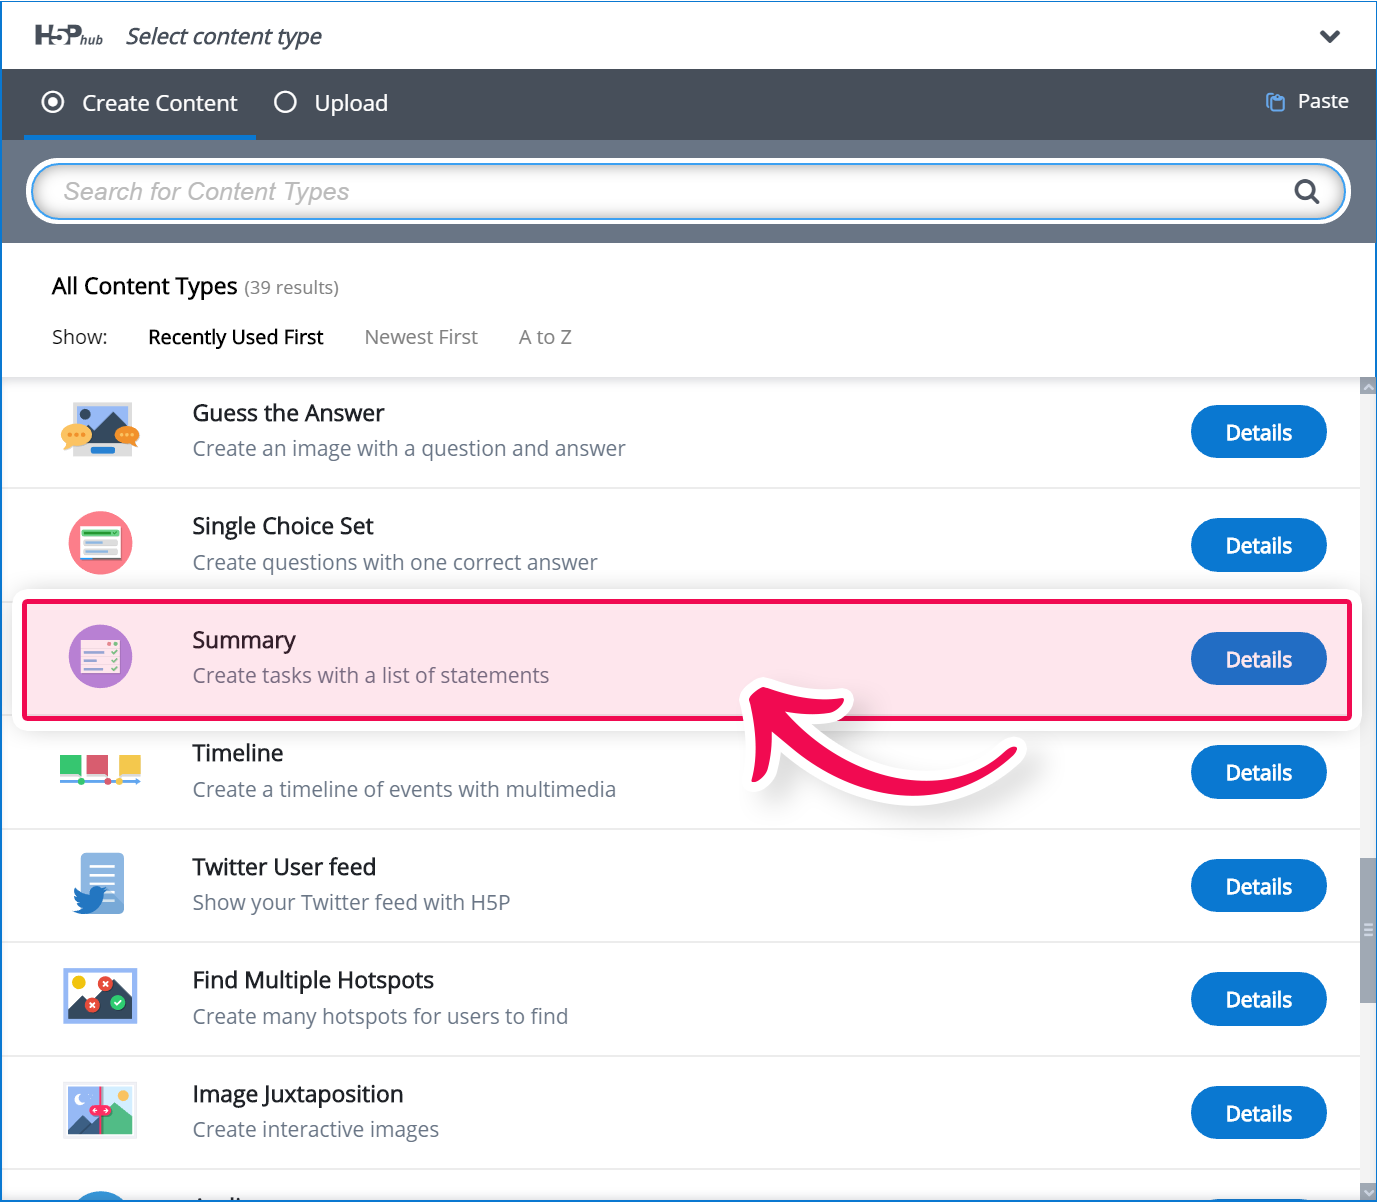
Create Summary
Select the New content option and choose Summary from the list of Content types:
Summary editor
The Summary editor should now appear. The top part of the editor looks like this:
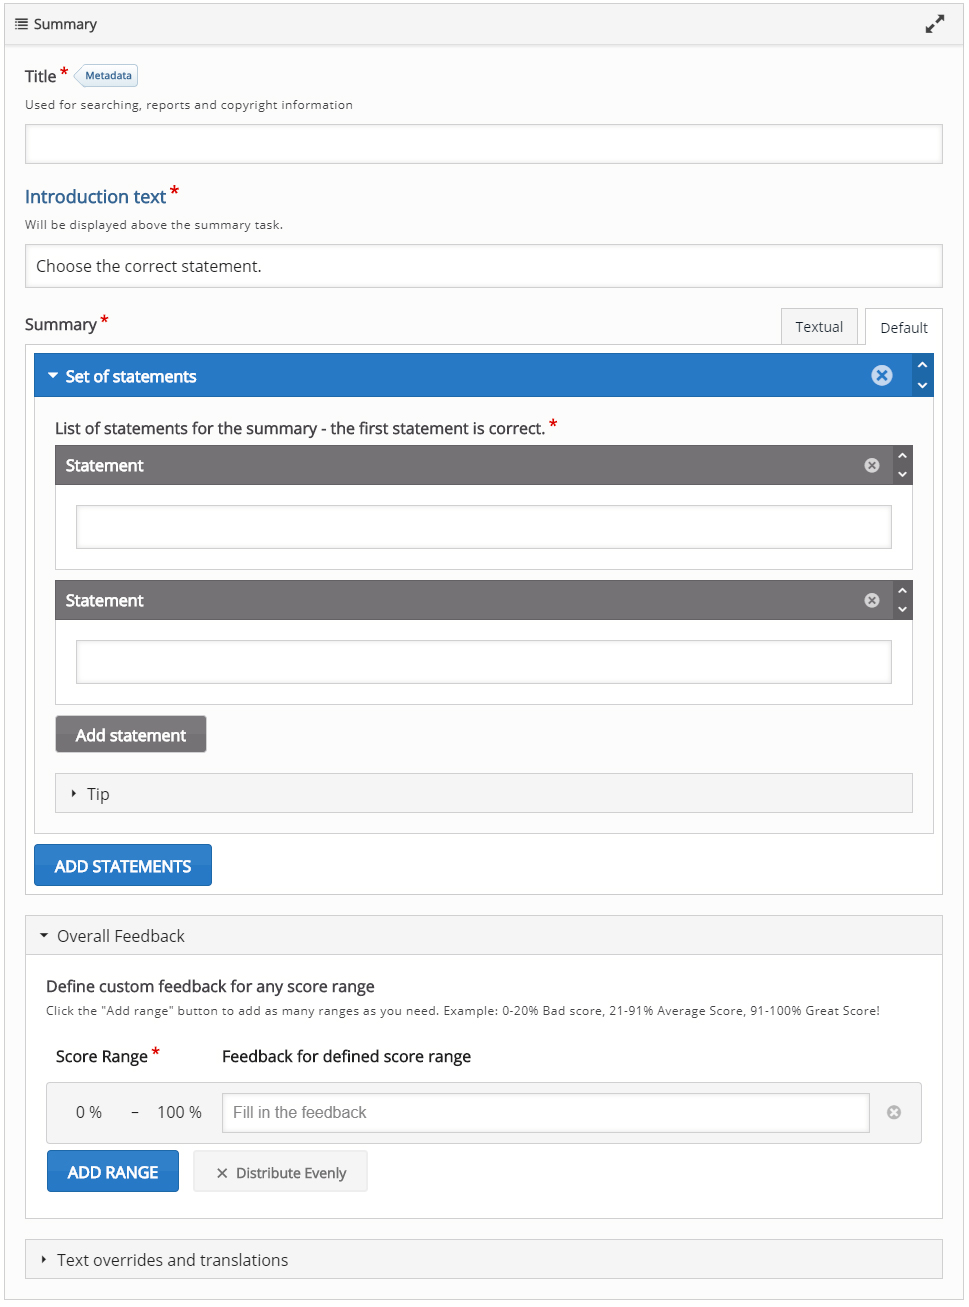
Introduction text
The Introduction text will be visible to the learner throughout the Summary. You can use this field to give the learner a short introduction or some instructions. A default Introduction text which works fine in most cases is suggested. However, you may modify or translate it into another language.

Add statements
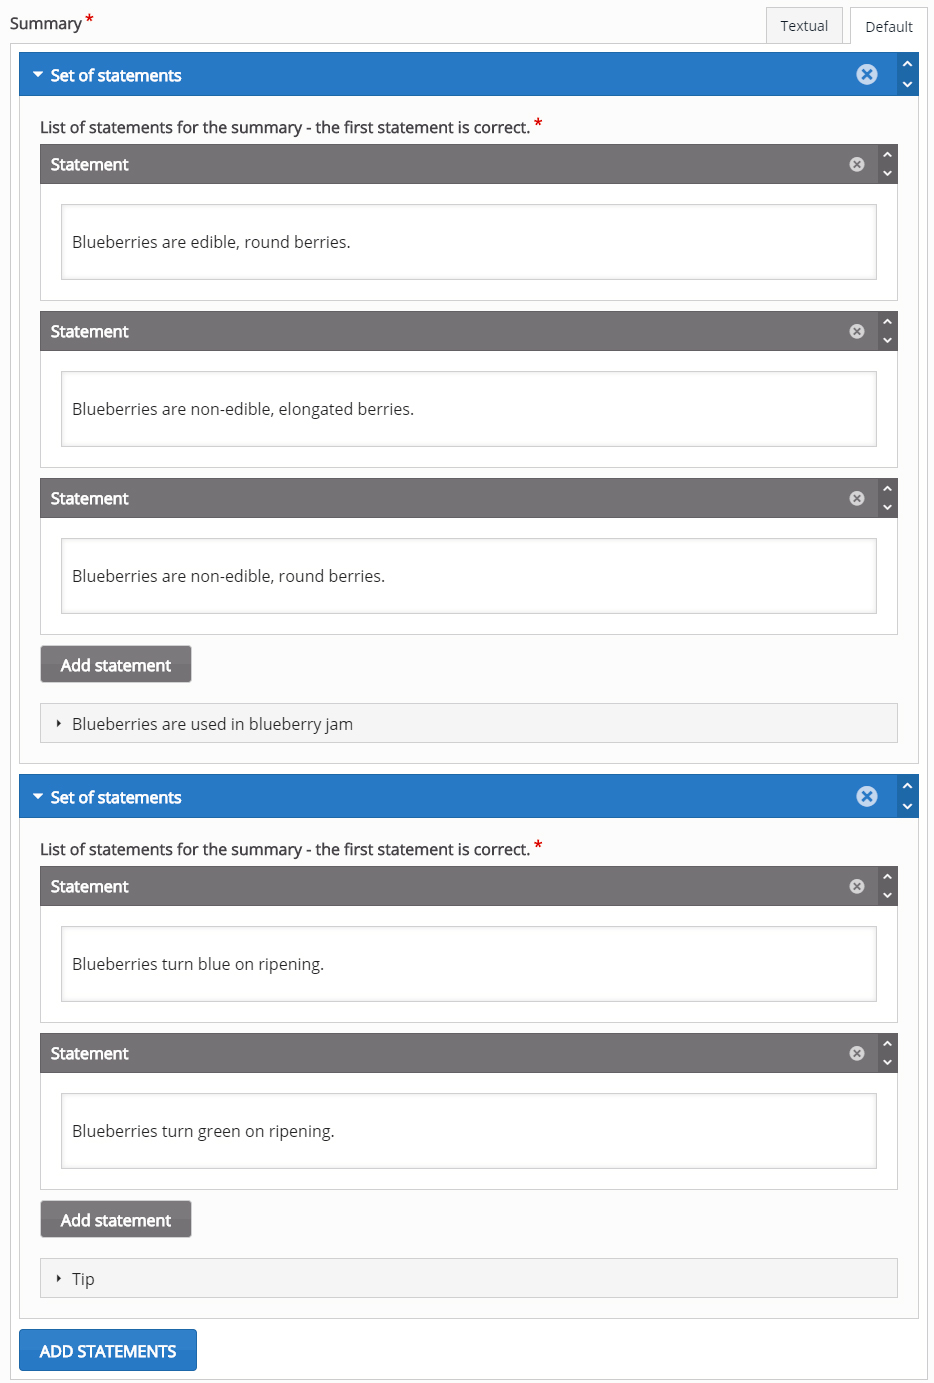
The Summary content type consists of a sequence of statement groups.
By default, the first statement group consists of two blank text fields each labeled Statement.
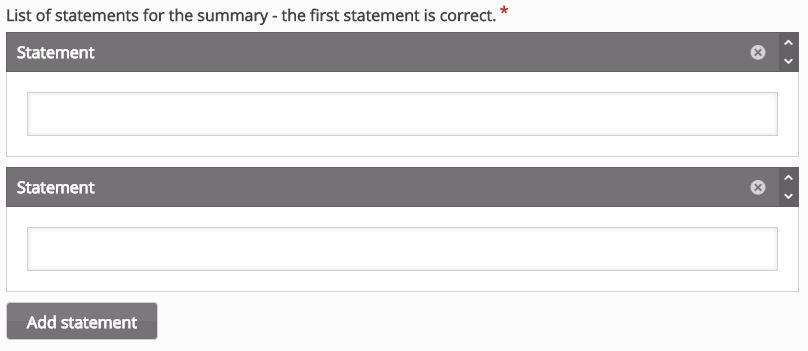
You need one correct statement and at least one incorrect statement in each statement group for the Summary to make any sense.
Note that the top statement in any statement group should always be the correct one.
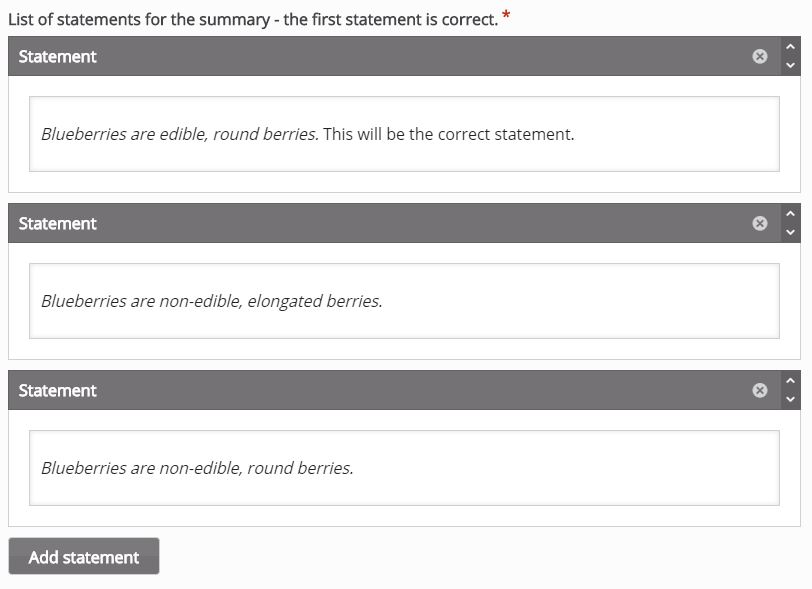
In the top Statement field, add your the correct statement text.
In the bottom Statement field, add an incorrect statement text.
You can add as many incorrect statements as you want. Add another statement by pressing the Add statement button. In the third Statement field that now has appeared, add the text:
You should now have something like this:
We have now finished our first statement group! However, only one statement group makes a very short summary of the topic. You would usually like to add two or more statement groups.
Add Statement group
Press the button Add statements. This will add a second group of statements.
As the top statement should be the correct one, you may have to change the order of the statements. You change the order by pressing the ![]() button in the top right corner of the statement group, drag it to the top of the List of statements, and drop it there. Now the correct statement is at the top of the statement group, as it should be.
button in the top right corner of the statement group, drag it to the top of the List of statements, and drop it there. Now the correct statement is at the top of the statement group, as it should be.
You should now have something like this:
You can also change the order of entire statement groups in the same way. Just use the ![]() button in the top left corner of the statement group instead.
button in the top left corner of the statement group instead.
Repeat step 6 until you have added enough correct statements to summarize the topic well.
You delete statements or statement groups by using the ![]() button in the top right corner.
button in the top right corner.
Finishing up
Press Save and Insert when you are done!