Drag and Drop
The Drag and drop content type allows learners to drag a piece of text or an image and drop it on one or more corresponding drop zones.
When to use Drag and drop
Drag and drop enables the learner to associate two or more elements and to make logical connections in a visual way.
Drag and drop can be used to test the learner's knowledge on a given topic as a variation to Multichoice questions. Drag and drop can be used stand-alone or they can be included in Question sets, Interactive Videos or Presentations. Either way, they are created in the same way.
How to Create Drag and Drop Questions

Clicking on that menu item will open a pop-up showing your H5P library. From here, you will have the option to either insert previously created content or create something new.
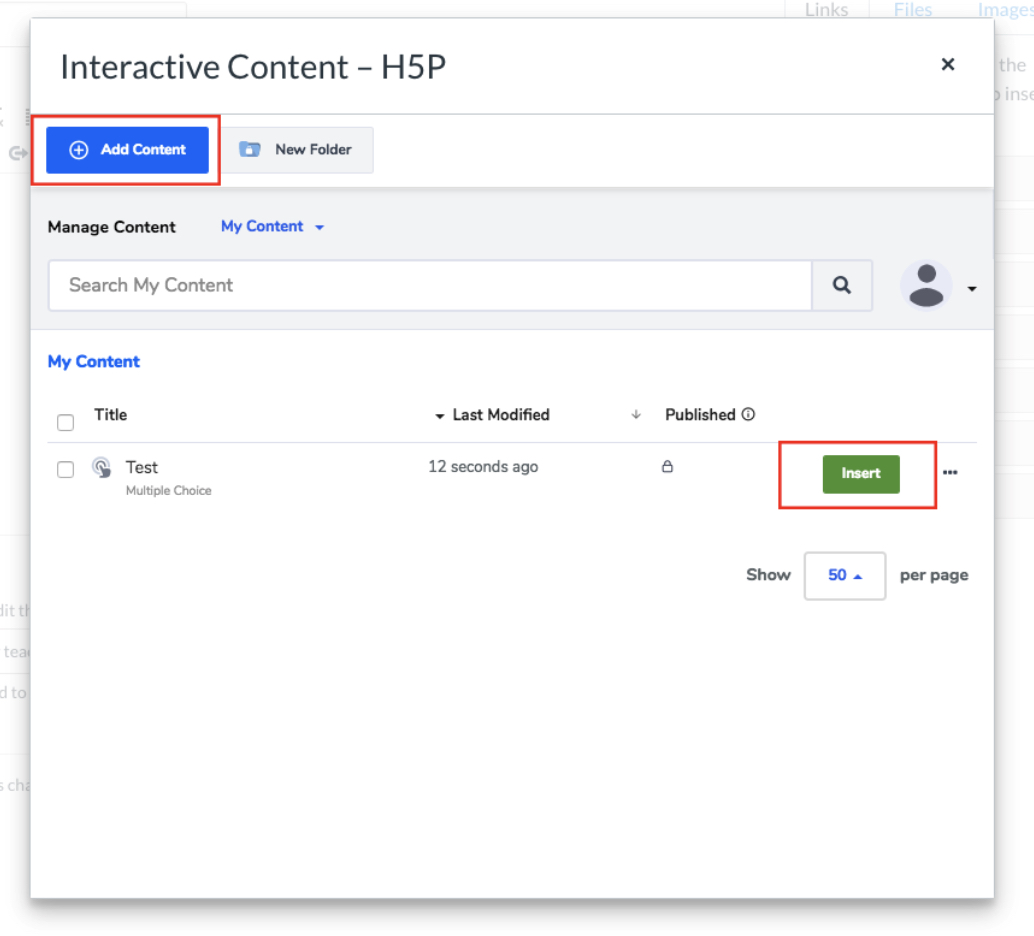
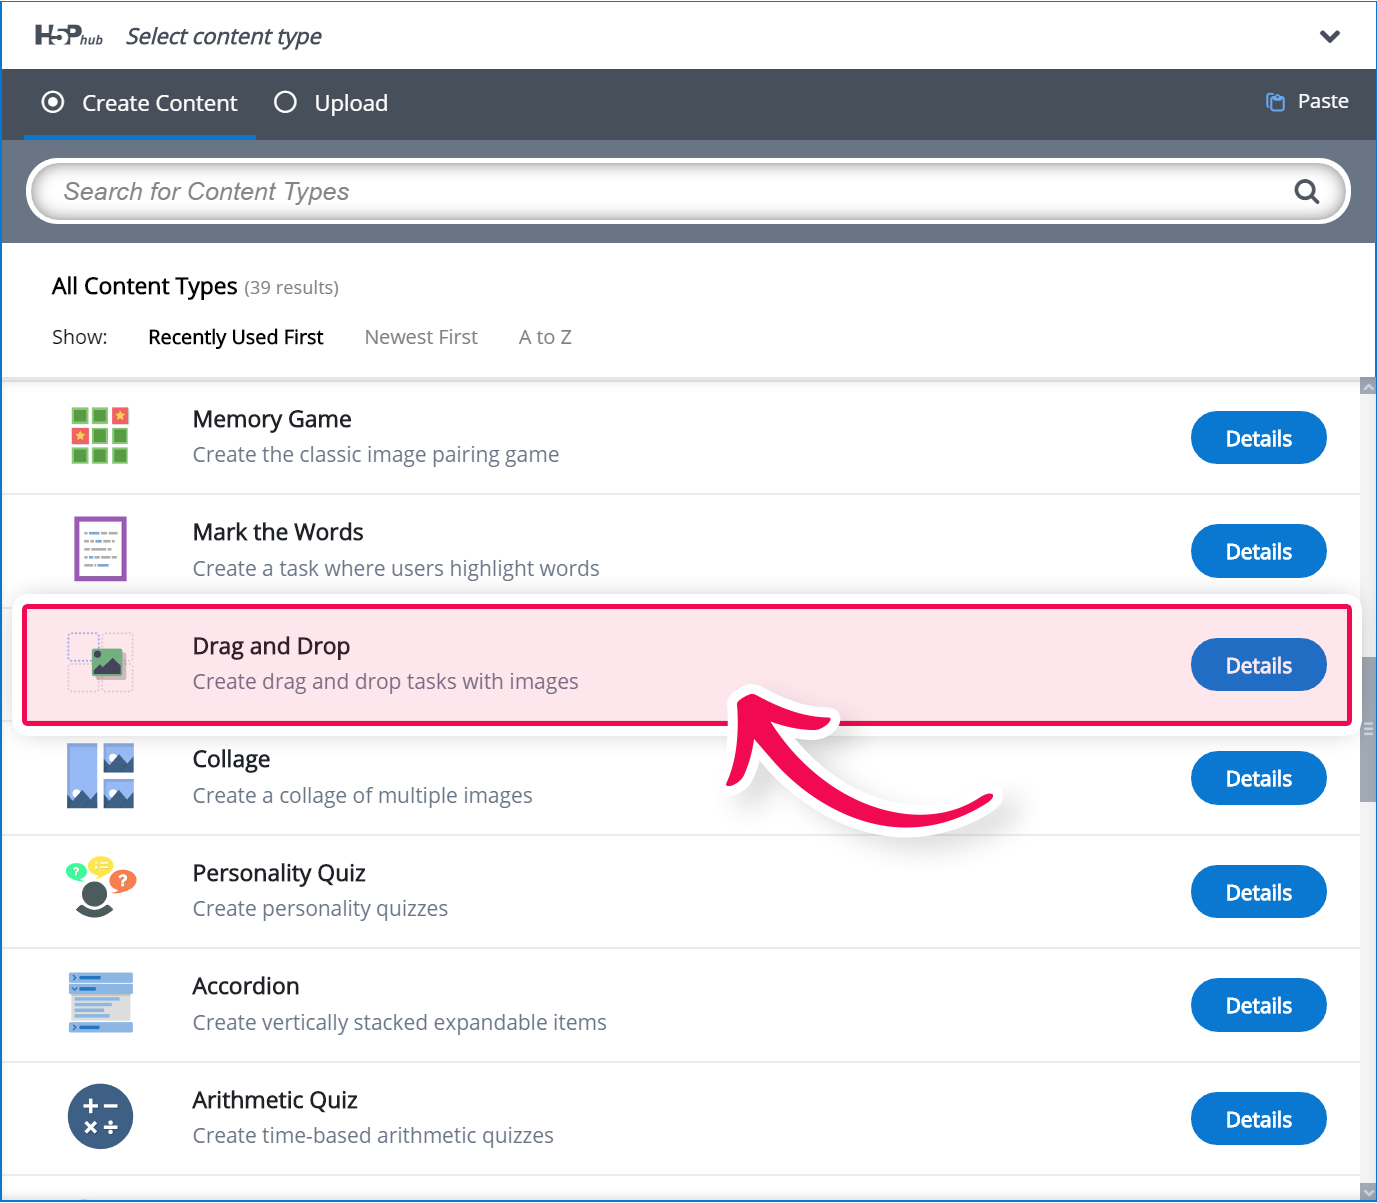
Select the New content option and choose Drag and Drop from the list of Content types:
Drag and drop question editor
The drag and drop question editor should now appear. The top part of the editor looks like this:
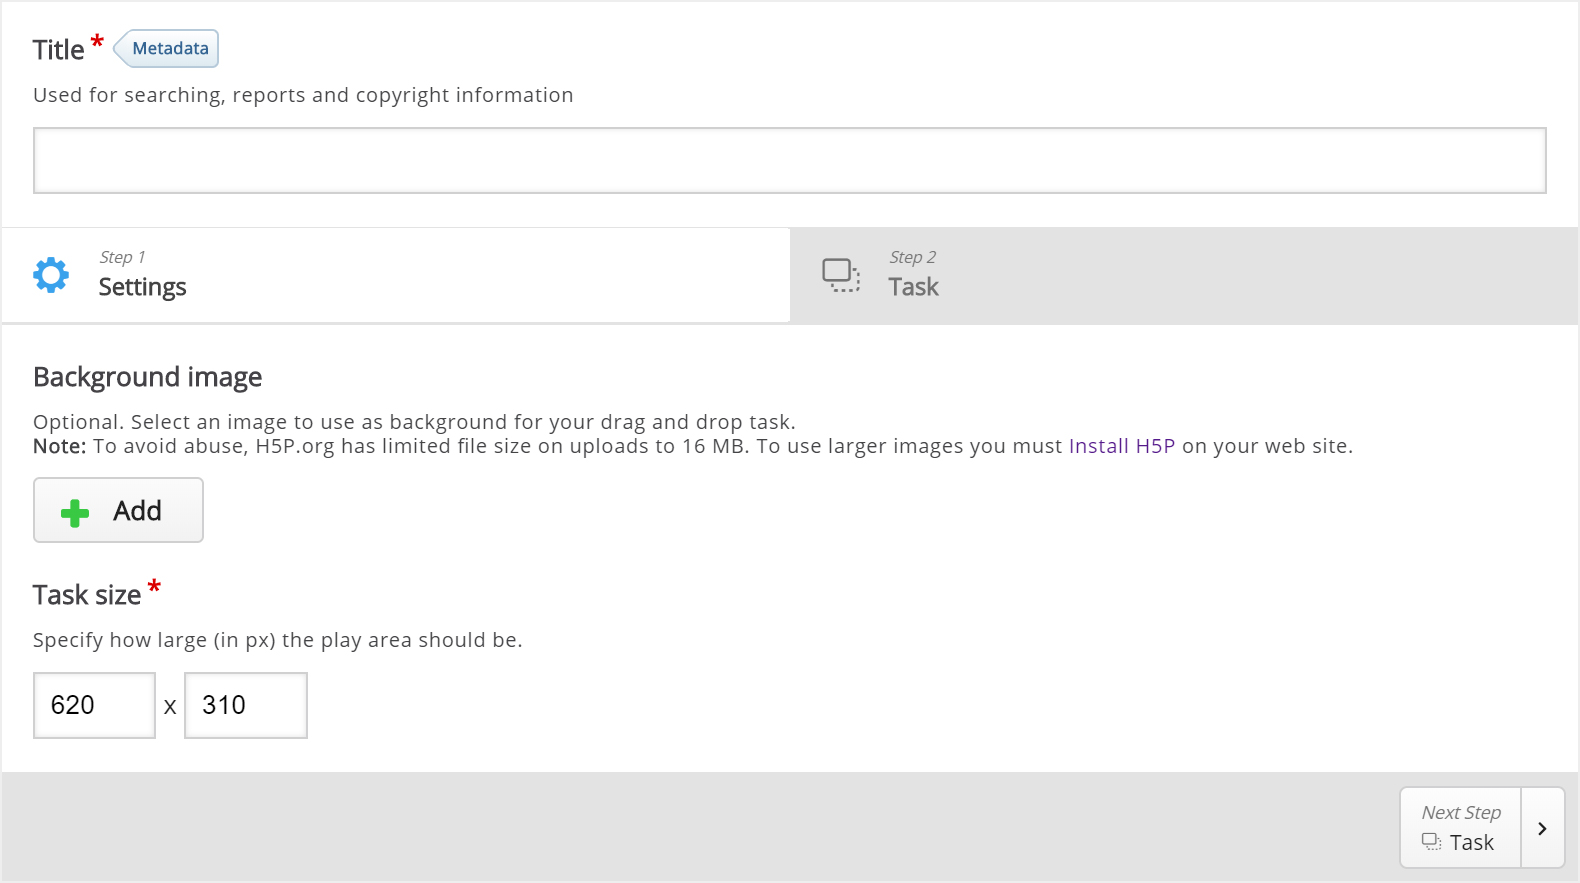
There are two steps in creating a drag and drop question: Settings and Task. Press the Settings and Task tabs at the top of the editor at any time to navigate between the views.
Settings
Settings deals with general settings such as background image and size.
Press the ![]() button to add a background image.
button to add a background image.
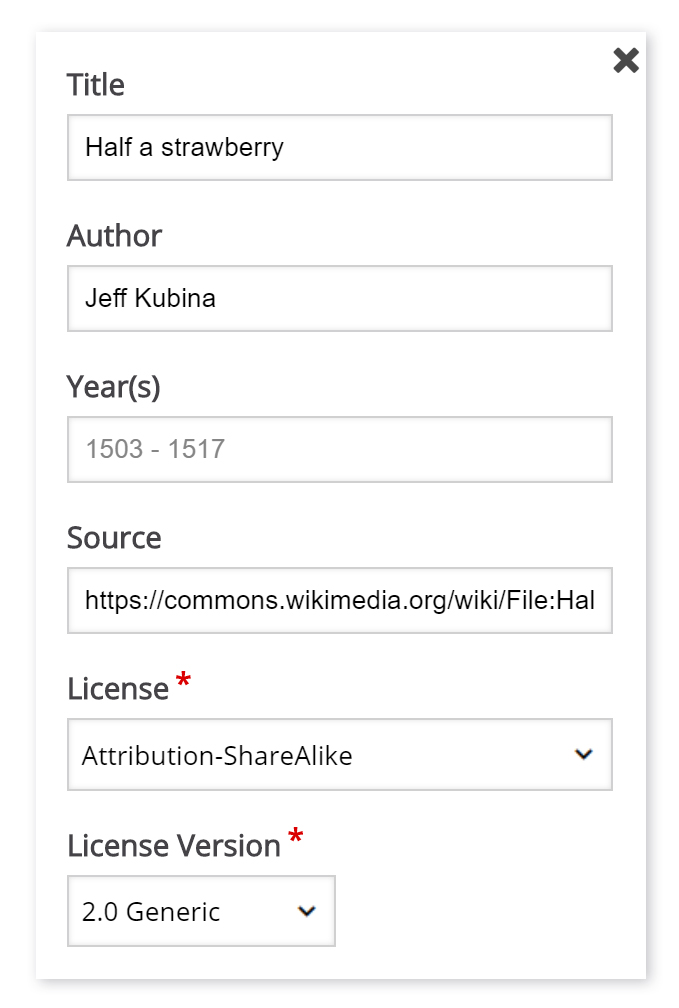
The Year(s) field is not relevant in this context so we'll leave this blank.
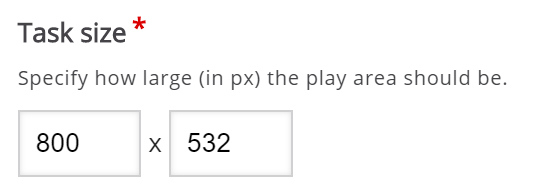
Now that we've added a background image, define the size of the Drag and drop question.
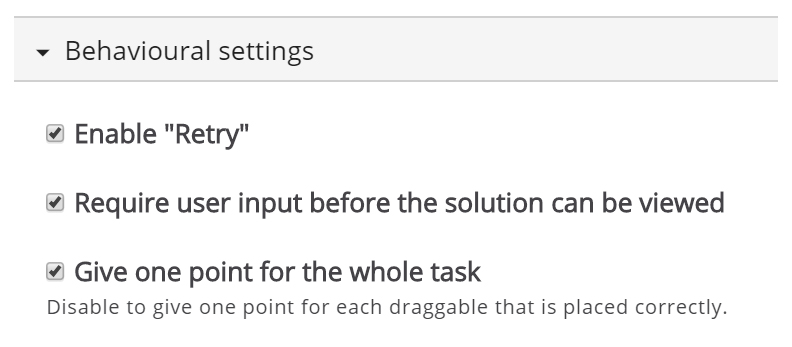
Since we want learners to be able to try to solve the Drag and drop question multiple times, as opposed to only have one go, we'll check the Enable "Retry" option.
The Give one point for the whole task option is more relevant when we add Drag and drop question to Question sets, Interactive Videos or Presentations. This option controls the score the learner gets for solving the Drag and Drop question when it is placed in a sequence of multiple tasks.
Task
Press the Task tab in the top right half of the editor to start creating the task itself.
The background image is displayed with the size defined in the Settings tab.
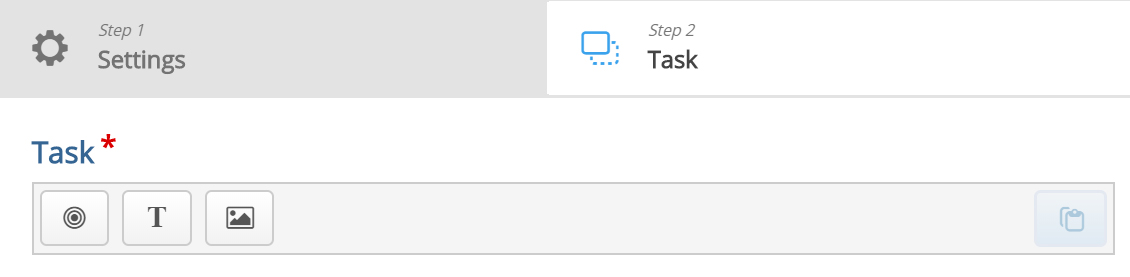
The toolbar allows you to insert:
 | Dropzones |
 | Texts |
 | and Images |
Dropzones are areas on which Text and Image draggable elements can be dropped.
Dropzone
Add a Dropzone over the background image. Press the Dropzone button in the toolbar, drag it and drop it somewhere above the image.
Dropzone options appear when you drop it. Add a Label and set the opacity to 50 to make it semi-transparent.
You will have something like this:
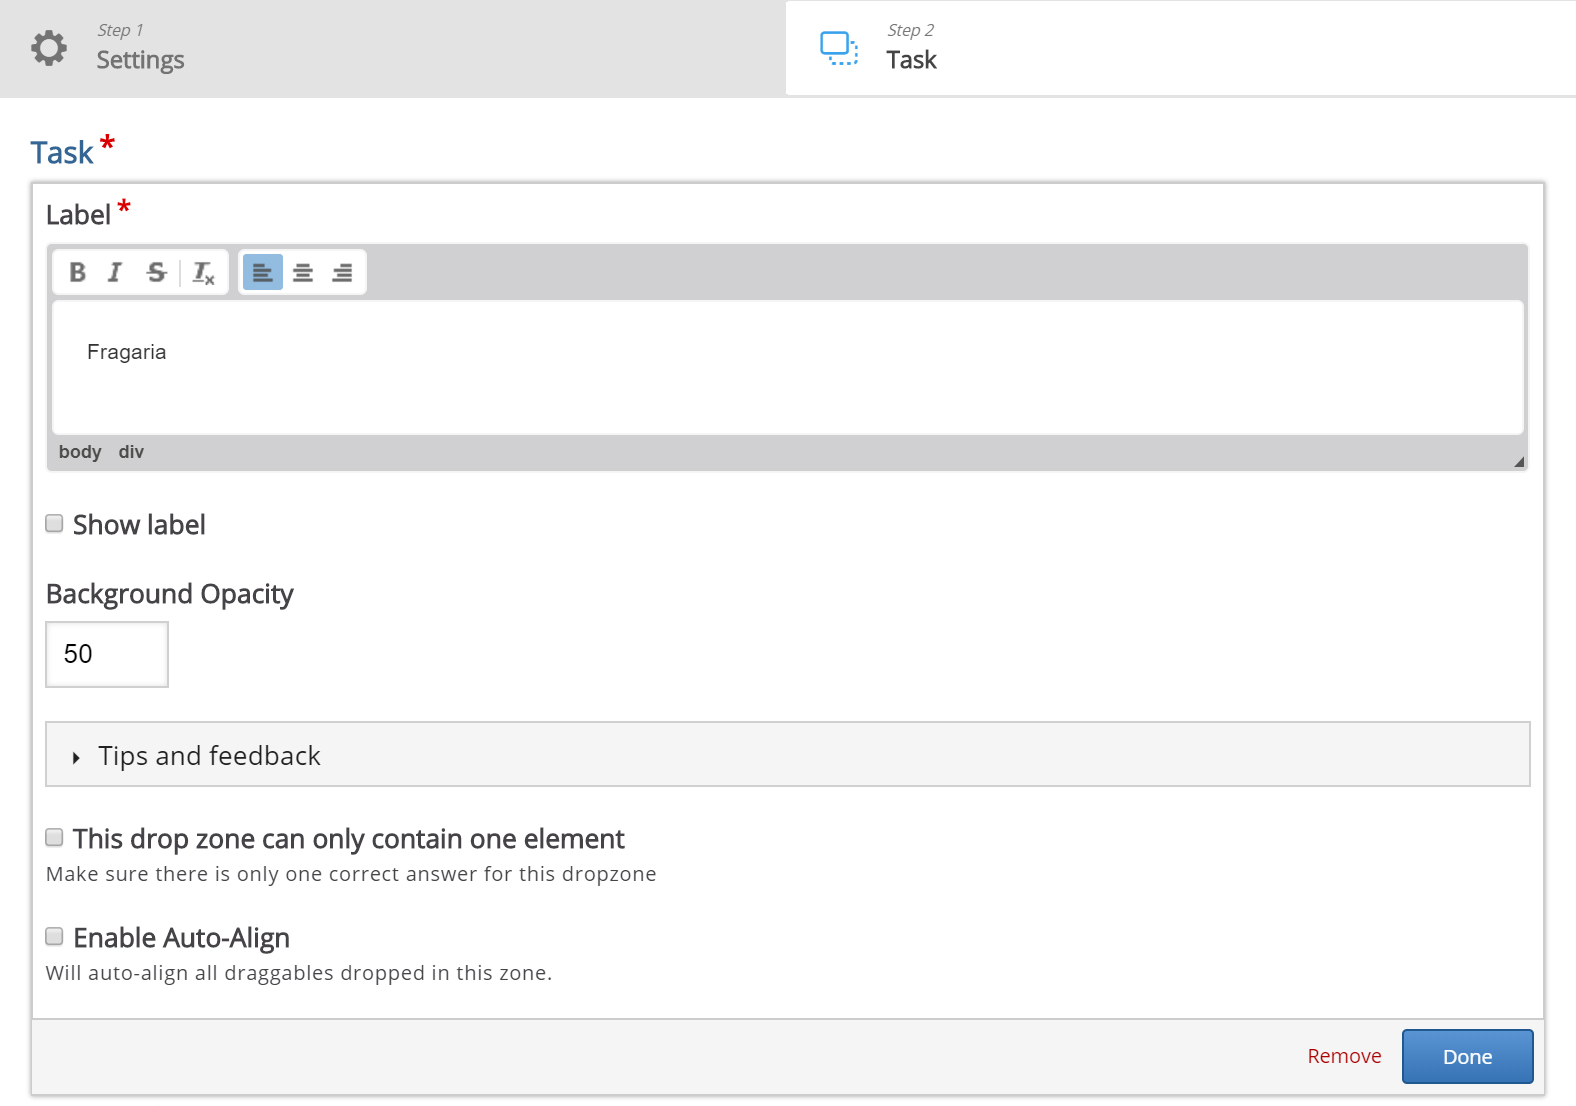
Press Done.
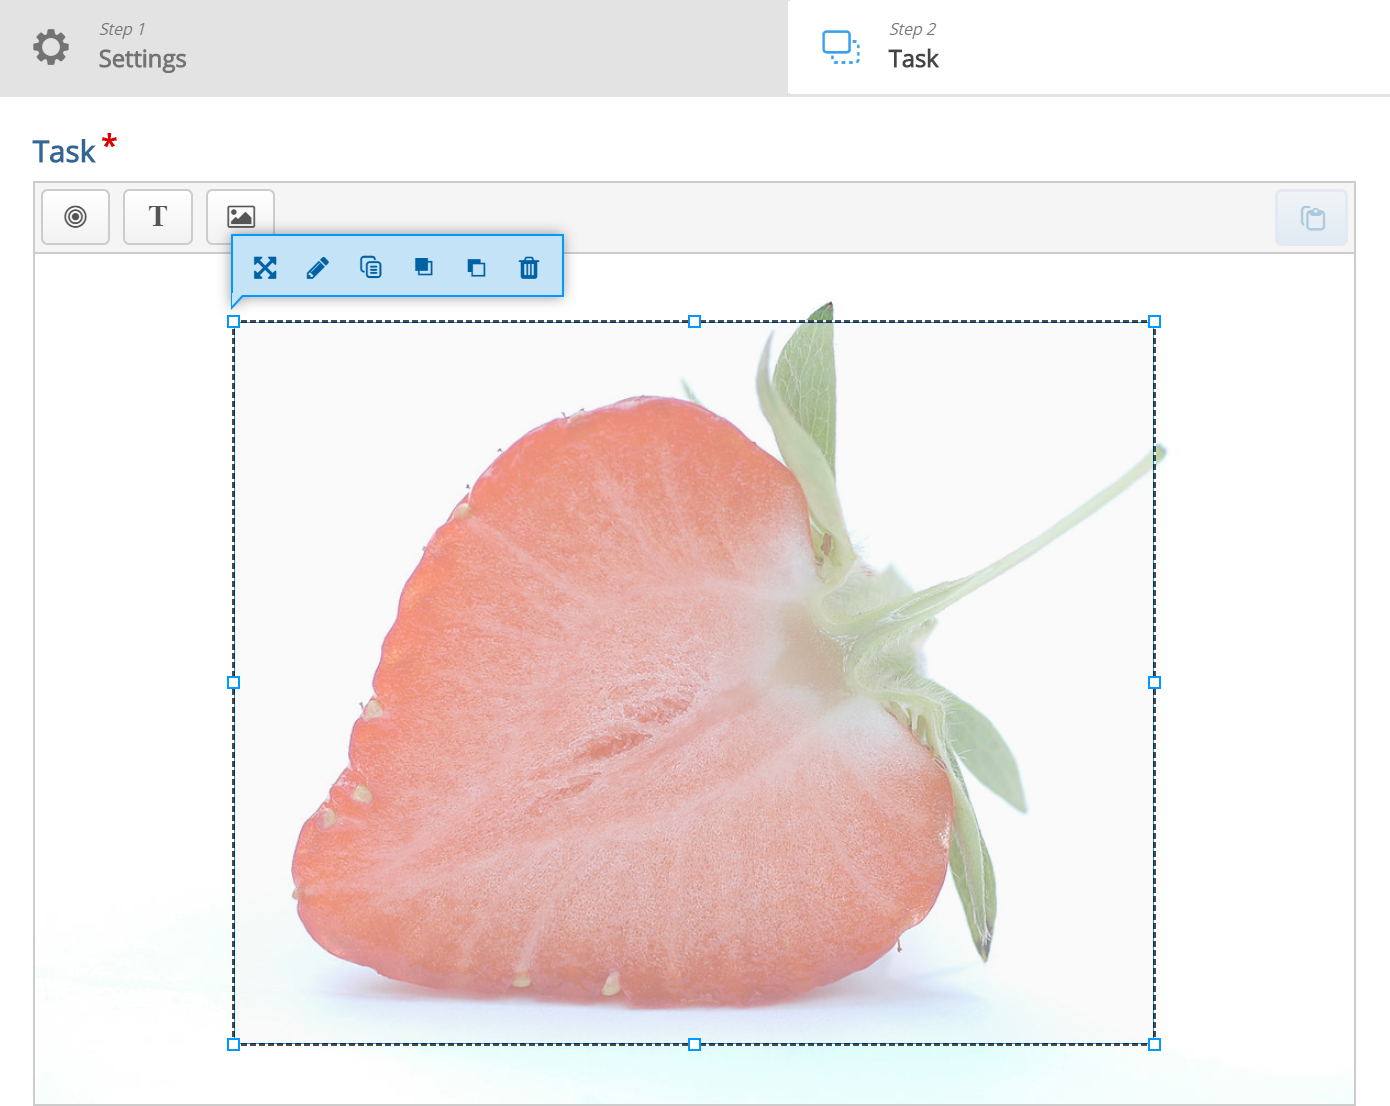
A white drop zone is placed over the background image. Move and resize the drop zone so that it is placed roughly over your desired area in the background image. Move the drop zone by pressing and dragging it to where you want it placed. Resize the drop zone by pressing the lower right corner of the drop zone and dragging up/down or left/right to scale the drop zone to the right proportions. Double-press the drop zone to edit it at any time.
You should now have something like this:
Add text
Images can be used as draggable elements in the same way as Text.
Press the Text button in the toolbar and drag it onto the background image. Place it to the right of the strawberry. Text options appear when you drop it.
In the Label field, type your label. Leave the opacity to 100 and press Done. You will now see the labeled draggable object where you placed it.
Move and resize the draggable object as you please. Move it around by pressing on it and then drag it to where you want it. Resize by pressing in the lower right corner of the object and then pull in any direction to scale.
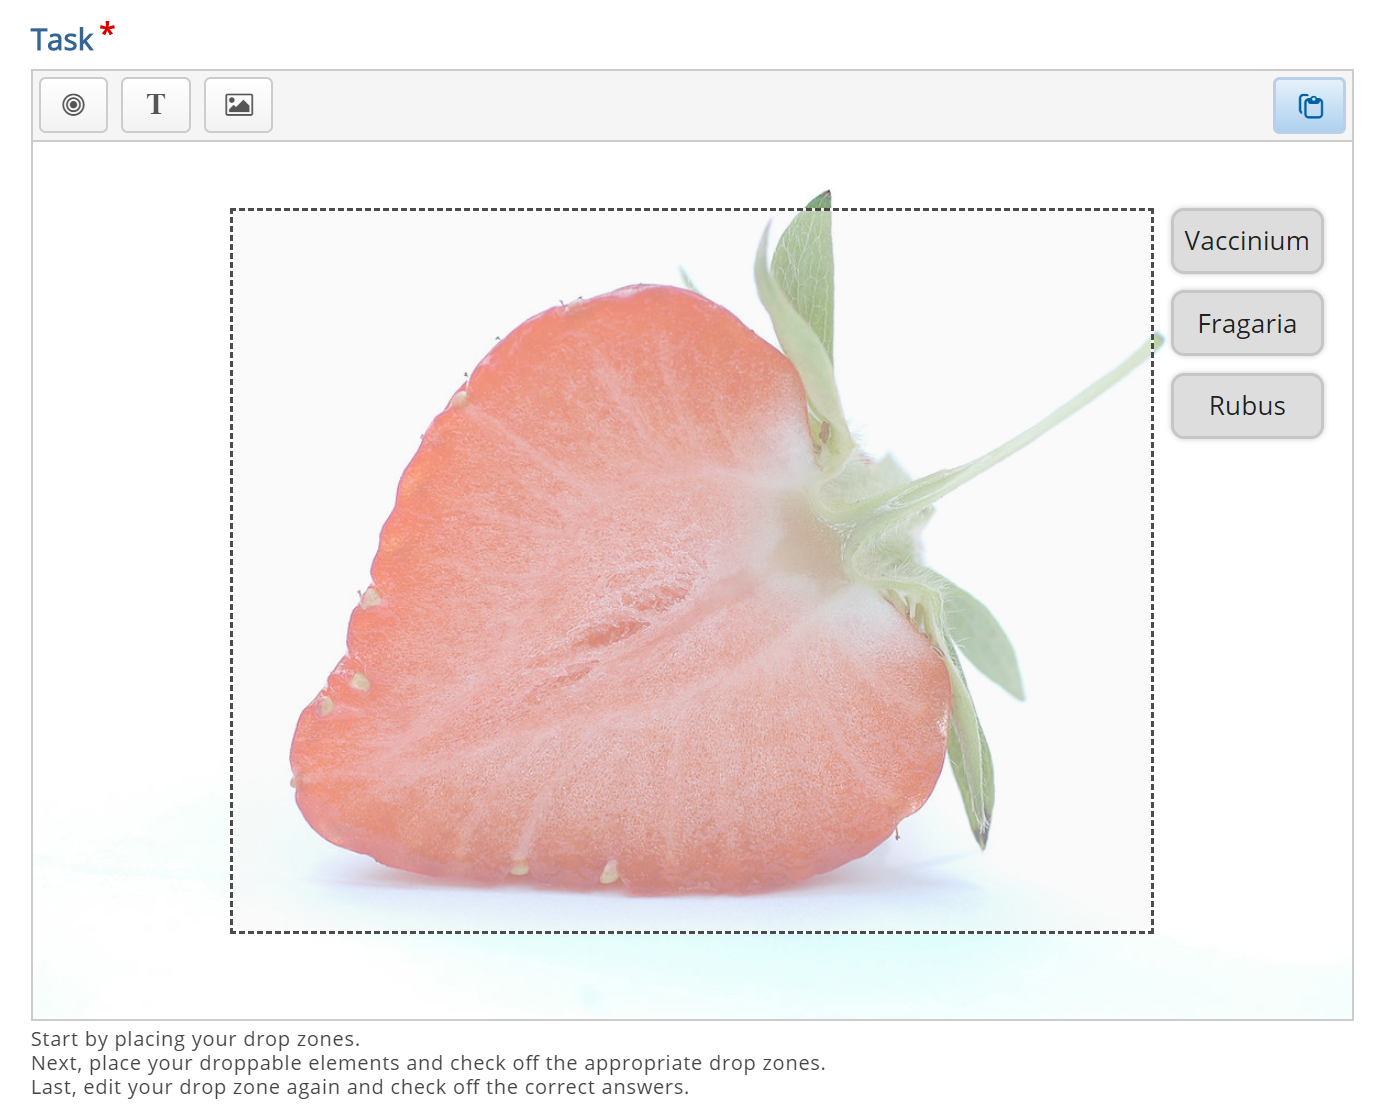
Add two more Text draggable elements by following the exact same procedure as above.
Hopefully, you will now have something like this:
Define the correct match
In order to define which match between drop zone and draggable elements is correct, double-press on the drop zone. This will bring up the same drop zone options as in Step 5.
Since you have defined an association between the three draggable elements and the dropzone in the previous step, you will now see a Select correct elements option. Check the Text: (correct answer) checkbox to define this draggable object as the correct match.
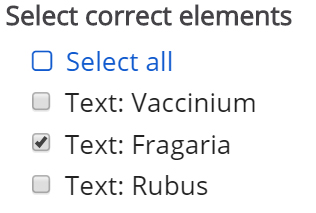
Now, set the opacity to 0 (zero) and press Done.
Multiple correct elements can be placed on a drop zone.
Finishing up
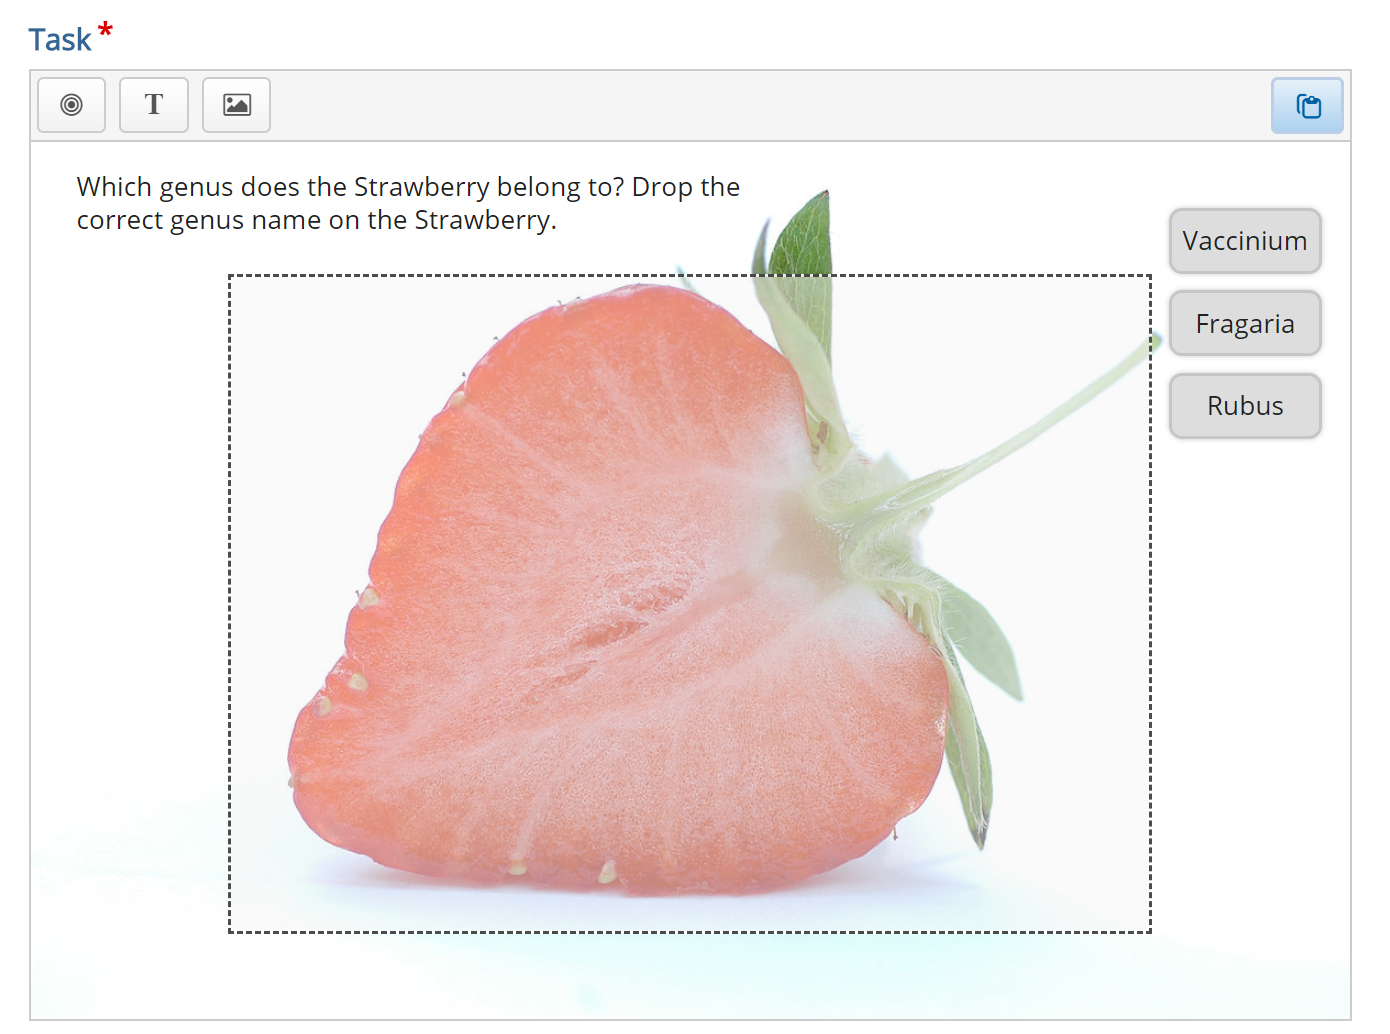
To add an instructional text add a Text element and type in your instructions in the Label field.
Place the instructional text in the top right corner and resize it as you please.
You should now have something like this:
Save and Insert to view your finished Drag and drop question.